JVC RX-E100SL User Manual
Browse online or download User Manual for AV receivers JVC RX-E100SL. JVC RX-E100SL User's Manual
- Page / 42
- Table of contents
- TROUBLESHOOTING
- BOOKMARKS
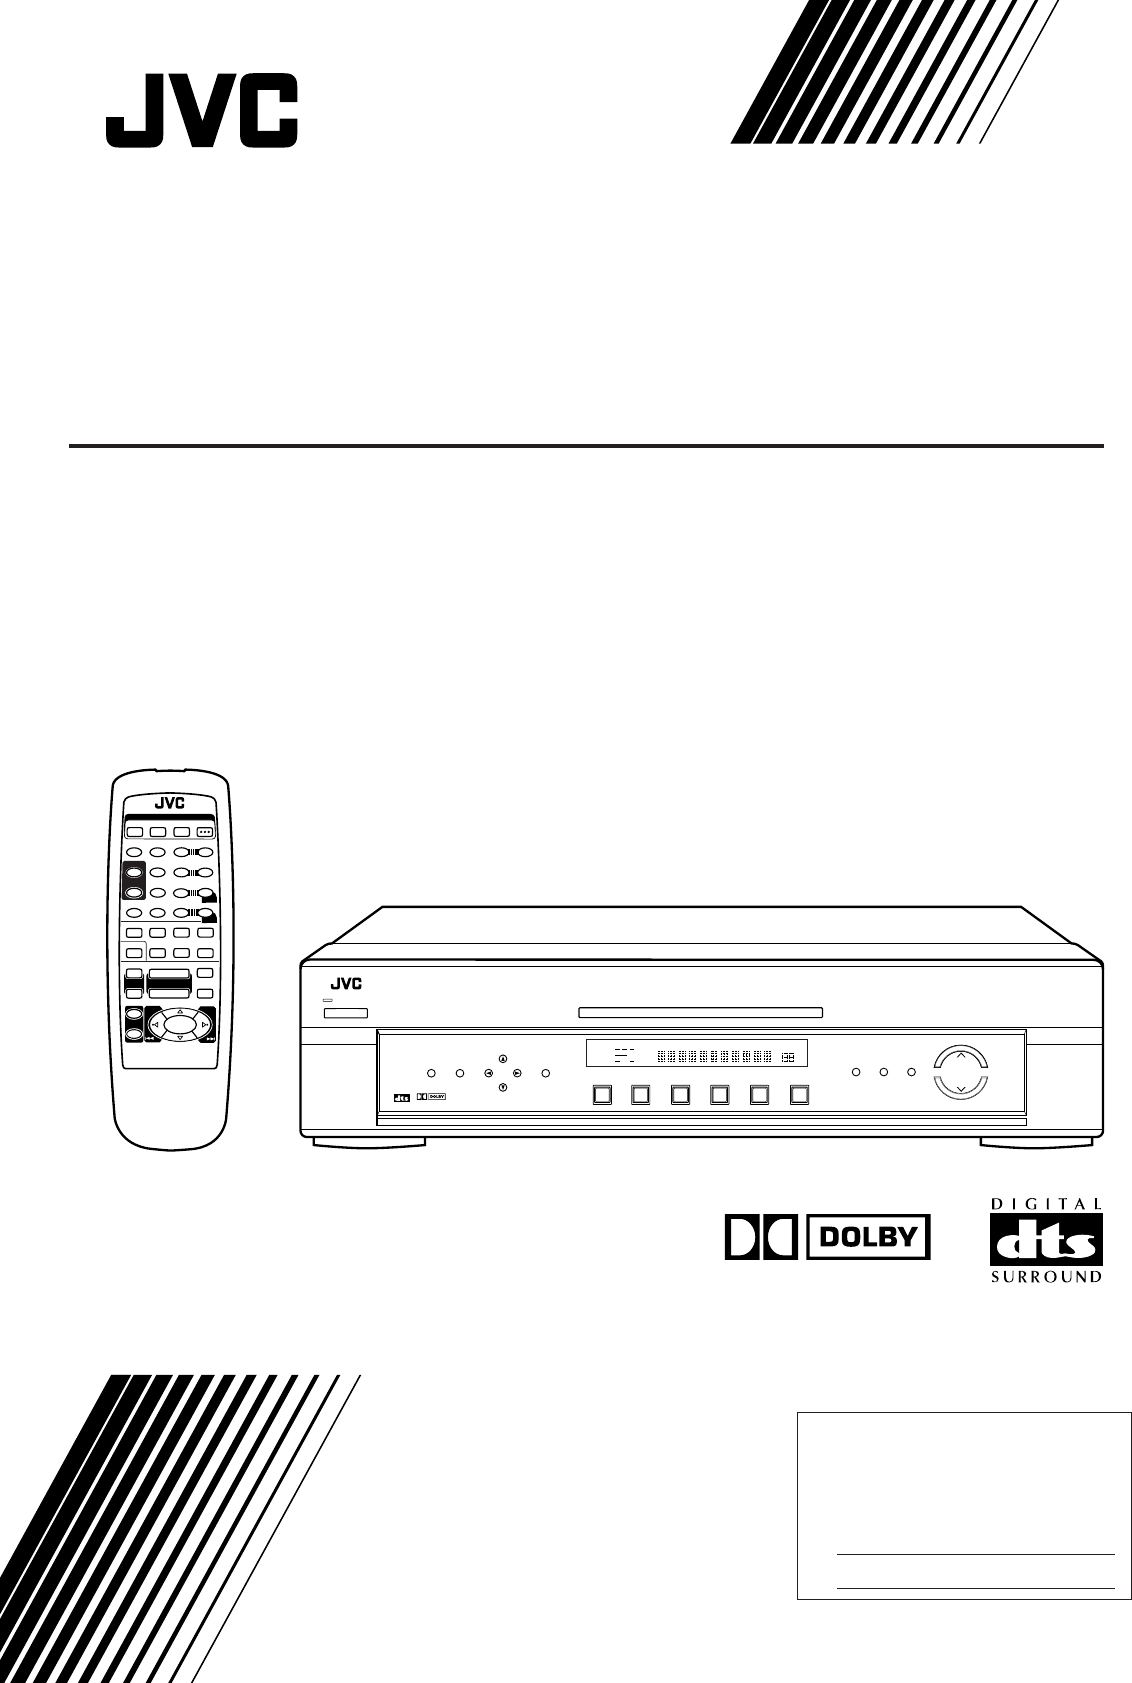
- RX-E100SL 1
- Warnings, Cautions and Others 2
- Table of Contents 3
- Getting Started 4
- Basic Operations 10
- Basic Settings 12
- Sound Adjustments 19
- Tuner Operations 22
- DOLBY SURROUND 24
- Creating sound field 25
- DSP mode 26
- Surround mode 26
- IMPORTANT 27
- RM-SRXE100J 28
- HOME THEATER RECEIVER 28
- To cancel Theater Surround 29
- To cancel DAP Mode 30
- To cancel Surround Mode 32
- Mastering Remote Operations 34
- Troubleshooting 37
- Specifications 38
- Memorandum 39
- If you ship the product • • • 40
- LIMITED WARRANTY AUDIO-2 41
- 0301NHMMDWJEIN 42
Summary of Contents
For Customer Use:Enter below the Model No. and Serial No. which are located either on the rear, bottom or side of the cabinet. Retain this information
8Basic Operations1 Turn On the PowerPress POWER (or AUDIO of the POWER buttons on the remotecontrol).The STANDBY lamp goes off. The name of thecurrent
9Basic OperationsBasic adjustment auto memoryThis receiver memorizes sound settings for each source ...• when you turn on the power,• when you change
10Basic SettingsDVD TV VCR CD FMAMRX-E100HOME THEATER RECEIVERTV DILECTDVDMEMORYCONTROLADJUSTSETTINGSTANDBYDIGITALDIGITALSURROUNDINPUTANALOG/DIGITAL
11Basic SettingsSUBWFR LFEMUTINMHZKHZVOLDGTL AUTOLCRLS RSDOLBY DIf the following symptoms occur while playing Dolby Digital orDTS Digital Surround sof
12ANALOGPRO LOGICSUBWFR LFEVOLDGTL AUTOINPUT ATTDSPLCRLS S RSLPCMDOLBY DDTSANALOGPRO LOGICSUBWFR LFEVOLDGTL AUTOINPUT ATTDSPLCRLS S RSLPCMDOLBY DDTSBa
13Basic SettingsFR SP (Front Speaker) : To register the front speaker size.CTR SP (Center Speaker) : To register the center speaker size.REAR SP (Rear
14Basic SettingsDVD TV VCR CD FMAMRX-E100HOME THEATER RECEIVERTV DILECTDVDMEMORYCONTROLADJUSTSETTINGSTANDBYDIGITALDIGITALSURROUNDINPUTANALOG/DIGITAL
15Basic SettingsCVOLOCONTROLDynamic Range Compression — D.R.C.You can compress the dynamic range (difference between maximumsound and minimum sound) o
16Basic SettingsDVD TV VCR CD FMAMRX-E100HOME THEATER RECEIVERTV DILECTDVDMEMORYCONTROLADJUSTSETTINGSTANDBYDIGITALDIGITALSURROUNDINPUTANALOG/DIGITAL
17ANALOGPRO LOGICSUBWFR LFEVOLDGTL AUTOINPUT ATTDSPLCRLS S RSLPCMDOLBY DDTSSound AdjustmentsYou can also use the remote control for some sound adjustm
Warnings, Cautions and Others CAUTION: TO REDUCE THE RISK OF ELECTRIC SHOCK. DO NOT REMOVE COVER (OR BACK)
18Sound AdjustmentsDVD TV VCR CD FMAMRX-E100HOME THEATER RECEIVERTV DILECTDVDMEMORYCONTROLADJUSTSETTINGSTANDBYDIGITALDIGITALSURROUNDINPUTANALOG/DIGI
19ANALOGPRO LOGICSUBWFR LFEVOLDGTL AUTOINPUT ATTDSPLCRLS S RSLPCMDOLBY DDTSAdjusting the ToneYou can adjust the bass and treble sounds as you like.• Y
20Tuner OperationsYou can also use the remote control for some tuner operations.• When using the remote control, see also “Mastering Remote Operations
21Tuner OperationsSelecting the FM Reception ModeWhen an FM stereo broadcast is hard to receive or noisy, you canchange the FM reception mode while re
22Creating Realistic Sound FieldsYou can use the following DSP (Digital Signal Processor) modes toreproduce a realistic sound field.• Surround modes•
23Creating Realistic Sound FieldsThese DAP modes can be used to add the acoustic surround effectswhile reproducing stereo analog software or Linear PC
24Creating Realistic Sound FieldsAbout Relations between Speaker Layout and DSP ModesAvailable DSP modes will vary depending on how many speakers are
25Creating Realistic Sound FieldsIt will be convenient for you to use the remote controlfor DSP operations, since you can adjust them fromyour listeni
26Creating Realistic Sound Fields4Press TEST to check the speaker output balance.“TEST L” starts flashing on the display, and a test tone comesout of
276 Press TEST again to stop the test tone.7Press EFFECT to select the DSP effect level (1 to5) you want.• As the number increases, the DSP effect bec
1Table of ContentsGetting Started... 2Before Installation ...
28ANALOGPRO LOGICSUBWFRVOLDSPLRLS S RSANALOGPRO LOGICSUBWFR LFEVOLDGTL AUTOINPUT ATTDSPLCRLS S RSLPCMDOLBY DDTSCreating Realistic Sound FieldsUsing DA
29ANALOGPRO LOGICSUBWFR LFEVOLDGTL AUTOINPUT ATTDSPLCRLS S RSLPCMDOLBY DDTSDVD TV VCR CD FMAMRX-E100HOME THEATER RECEIVERTV DILECTDVDMEMORYCONTROLAD
30Creating Realistic Sound FieldsUsing Theater Surround (Front Panel)Theater Surround cannot be used with another DSP mode. OnceTheater Surround is ac
31ANALOGPRO LOGICSUBWFR LFEVOLDGTL AUTOINPUT ATTDSPLCRLS S RSLPCMDOLBY DDTS3Press ADJUST.The CONTROL buttons now work for soundadjustments.4Press CONT
32Mastering Remote OperationsYou can use the remote control to operate not only thisreceiver but also other JVC products.• Refer also to the manuals s
33Mastering Remote Operations❏ Operating other JVC products — Audio/videooperation buttons After pressing DVD (source selecting button), you can uset
34Parts IdentificationRemote ControlDVD TV VCR CD FMAMRX-E100HOME THEATER RECEIVERTV DILECTDVDMEMORYCONTROLADJUSTSETTINGSTANDBYDIGITALDIGITALSURROUN
35Parts Identification/TroubleshootingTroubleshootingUse this chart to help you solve daily operational problems. If there is any problem you cannot s
36SpecificationsAmplifierOutput Power At Stereo operation:Front channels:70 W per channel, min. RMS, driven into 8 Ω,40 Hz to 20 kHz with no more than
37MemorandumSpecifications/MemorandumNote the adjustments you have made for each source below for your future reference.The following adjustments can
2Getting StartedPutting Batteries in the Remote ControlBefore using the remote control, put two supplied batteries first.• When using the remote contr
Sophisticated electronic products may require occasional service. Just as quality is a keyword in the engineering and production ofthe wide array of J
LIMITED WARRANTY AUDIO-2JVC COMPANY OF AMERICA warrants this product and all parts thereof, except as set forth below ONLY TO THE ORIGINALPURCHASER AT
VICTOR COMPANY OF JAPAN, LIMITEDEN0301NHMMDWJEINJVCRX-E100SL[J]_COVER_f 01.3.7, 2:43 PM2
3Connecting the FM and AM AntennasFM Antenna (supplied)If FM reception is poor, connectoutdoor FM antenna (not supplied).AM antenna connectionConnect
4SUBWOOFEROUTINPUTHIGH IMPEDANCEPowered subwoofer(example)Getting Started123Speaker Layout DiagramConnecting the SpeakersAfter connecting the front, c
5Getting StartedLeft rear speakerFM 75COAXIALCAUTION : SPEAKER IMPEDANCE816+–+–+–+–AM LOOPAMEXTANTENNAAUDIORIGHTLEFTOUT(REC)IN(PLAY)VCR CDTVDVDDIGITAL
6FM 75COAXIALCAUTION : SPEAKER IMPEDANCE816+–+–+–+–AM LOOPAMEXTANTENNAAUDIORIGHTLEFTOUT(REC)IN(PLAY)VCRCD TVDVDDIGITAL 2 (TV)DIGITAL 1 (DVD)DIGITAL IN
7TVDVDVCRCDDVDTVOUT INLEFTRIGHTAUDIOLEFTRIGHTLINE OUTLEFTRIGHTFRONT/MIXAUDIO OUTLEFTRIGHTAUDIO OUTCOAXIALDIGITAL OUTABCOPTICALDIGITAL OUTIllustrations
Related products and manuals for AV receivers JVC RX-E100SL
 (76 pages)
(46 pages)
(34 pages)
(76 pages)
(46 pages)
(34 pages)
 (52 pages)
(45 pages)
(48 pages)
(56 pages)
(60 pages)
(58 pages)
(40 pages)
(54 pages)
(30 pages)
(52 pages)
(45 pages)
(48 pages)
(56 pages)
(60 pages)
(58 pages)
(40 pages)
(54 pages)
(30 pages)
 (173 pages)
(72 pages)
(32 pages)
(57 pages)
(76 pages)
(56 pages)
(34 pages)
(54 pages)
(173 pages)
(72 pages)
(32 pages)
(57 pages)
(76 pages)
(56 pages)
(34 pages)
(54 pages)
© 2020, manymanuals.com. All rights reserved. | 0.090 s |
 Manymanuals.com
 Manymanuals.de
 Manymanuals.fr
 Manymanuals.it
 Manymanuals.pl
 Manymanuals.cz
 Manymanuals.es
 Manymanuals-pt.com
Comments to this Manuals