JVC FS-X5 User Manual
Browse online or download User Manual for CD players JVC FS-X5. JVC FS-X5 User's Manual
- Page / 31
- Table of contents
- TROUBLESHOOTING
- BOOKMARKS
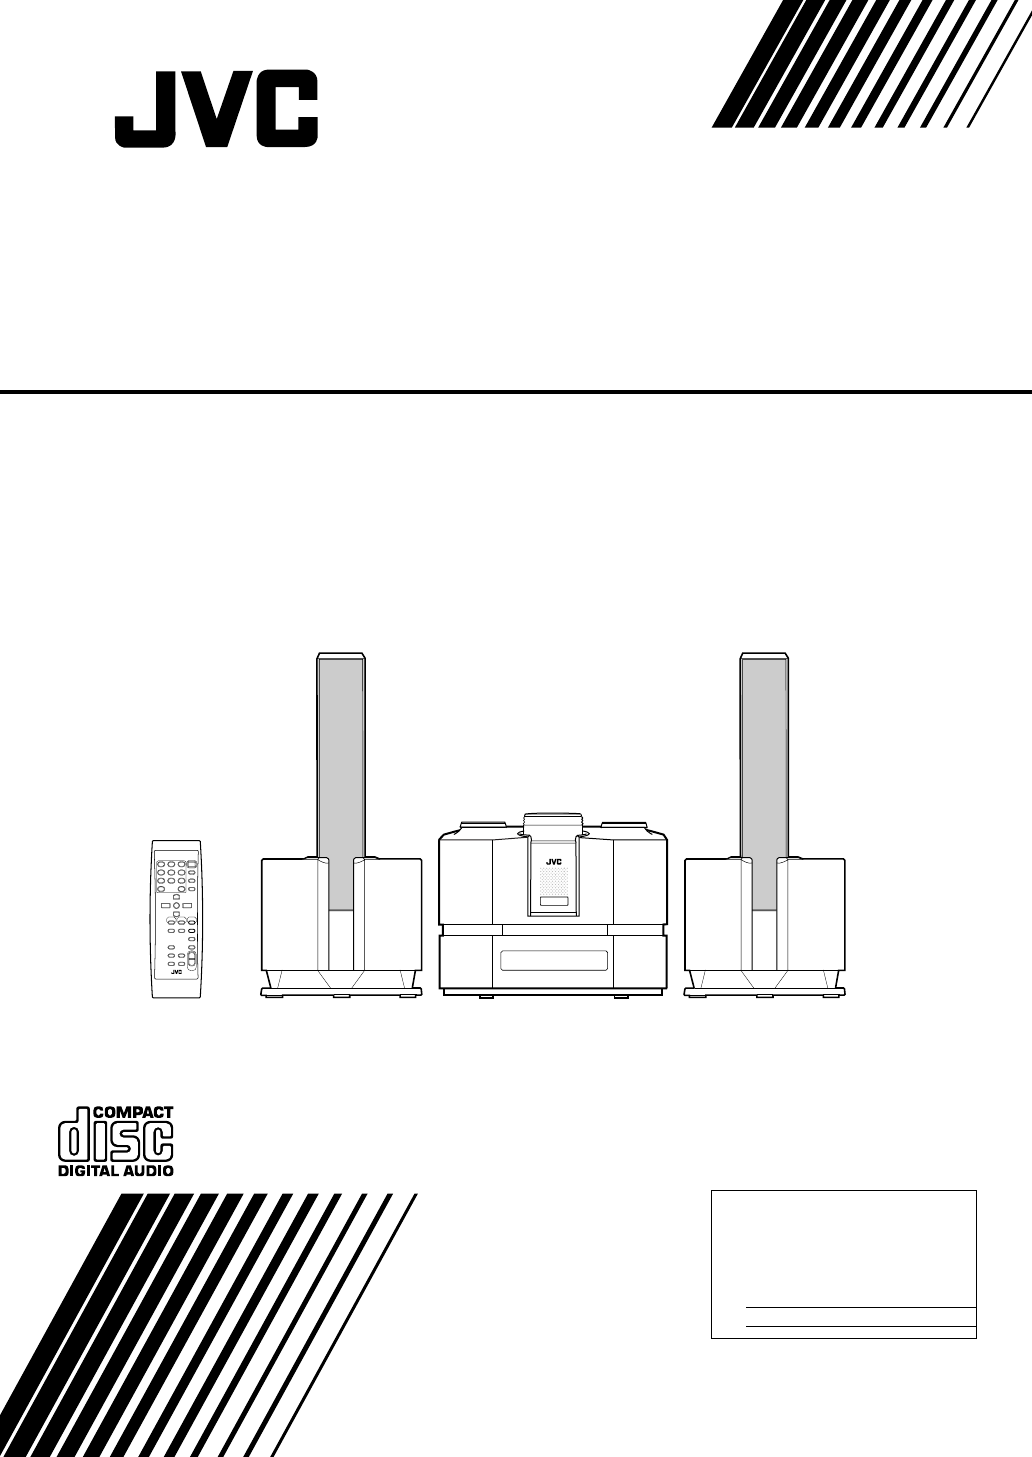
- COMPACT COMPONENT SYSTEM 1
- SYSTEME DE COMPOSANTS COMPACT 1
- ANCE TO RAIN OR MOISTURE 2
- ATTENTION 3
- CA-FSX5 CA-FSX5 4
- SP-FSX5 SP-FSX5 4
- Table of Contents 5
- Introduction 6
- Getting Started 7
- Connecting the AM Antenna 9
- CAUTIONS: 10
- COMPU PLAY 11
- Automatic Power On 11
- Basic Operations 12
- Using the Tuner 15
- Using the CD Player 17
- Random Play 19
- To Modify the Program 19
- Repeating Tracks 20
- CD DOOR LOCK 20
- Locking the CD door 20
- Unlocking the CD door 20
- Using External Equipments 21
- Adjusting the Input Level 22
- On the Remote Control 22
- Using the Timers 23
- CAUTION: 24
- Showing the Clock (DISPLAY) 24
- Correcting the Clock 24
- Setting the Daily Timer 24
- Setting the SLEEP Timer 27
- Timer Priority 27
- Troubleshooting 28
- Care And Maintenance 29
- Specifications 30
- Français 31
Summary of Contents
COMPACT COMPONENT SYSTEMSYSTEME DE COMPOSANTS COMPACTFS-X5Consists of CA-FSX5 and SP-FSX5Se compose de CA-FSX5 et de SP-FSX5SP-FSX5CA-FSX5SP-FSX5For C
6Getting StartedEnglishConnecting the Speakers (SP-FSX5)These speakers are exclusively for this system. Using with other devices will damage the speak
7Getting StartedEnglishConnecting an External EquipmentConnect signal cords (not supplied) between the System’s LINE IN/OUT terminals and the output/i
8EnglishBasic OperationsTurning the Power On and OffTurning the System On Press the STANDBY/ON button.The display comes on and “HELLO” is displayed
9Basic OperationsEnglishAdjusting the Brightness (DIMMER - at Power On)You can adjust the brightness of the display.When the System is Turned OnAt pow
10Basic OperationsEnglishTone Control (BASS/TREBLE)You can control the tone by changing the bass (low frequen-cy) and treble (high frequency).On the R
11EnglishUsing the TunerYou can listen to FM and AM stations. Stations can betuned in manually, automatically, or from preset memorystorage.❑ Before l
12Using the TunerEnglishPresetting StationsYou can preset up to 30 FM stations and up to 15 AM sta-tions.• Preset numbers may have been set to factory
13EnglishUsing the CD PlayerYou can use Normal, Random, Program or Repeat Play. Re-peat Play can repeat all the tracks or just one of the trackson the
14Using the CD PlayerEnglish❑ You can insert a CD while listening to the other source.• However, while the CD door is operating (opening or closing),
15Using the CD PlayerEnglish5Press the Numeric Keys to enter the track number you want to program (See page 10).The program order number will be assig
G-1Warnings, Cautions and Others / Mises en garde, précautions et indications diverses(For U.S.A)WARNING: TO REDUCE THE RISK OF FIRE ORELECTRIC SHOCK,
16Using the CD PlayerEnglishRepeating TracksYou can repeat all tracks or individual track, as many timesas you like.During playback or in Stop mode, p
17EnglishUsing External EquipmentsListening to External EquipmentYou can listen to the external equipment such as MD re-corder, tape deck or other aux
18Using External EquipmentsEnglishRecording the System’s Source to External EquipmentYou can record the System’s source to external equipmentwhich is
19EnglishUsing the TimersThe timers let you control listening functions automatically. Two types of timers are available: DAILY Timer Use this timer t
20Using the TimersEnglish3Press the SET button.The minute digits of the time indication blink on the dis-play.• To return to the hour setting, press t
21Using the TimersEnglishOn the Remote Control1Press the CLOCK/TIMER button repeat-edly until “ON (time)” appears on the display.At this time, “DAILY”
22Using the TimersEnglish5Setting the volume level.Press the 3 or 2 button to select the volume level(VOLUME 1-50), then press the SET button.6Select
23Using the TimersEnglishSetting the SLEEP TimerUse the Sleep Timer to turn the System off after a certainnumber of minutes when it is playing. By set
24EnglishTroubleshooting• If you are having a problem with your System, check this list for a possible solution before calling for service.• If you ca
25EnglishCare And MaintenanceHandle your CDs carefully, and they will last a long time.Compact DiscsCAUTION:• Do not use any solvent (for example, con
G-2CAUTION1. Do not block the ventilation openings or holes.(If the ventilation openings or holes are blocked bya newspaper or cloth, etc., the heat m
26EnglishSpecificationsCA-FSX5AmplifierOutput PowerMain :60 W (30 W + 30 W) at 4 Ω (1 kHz 10% THD)Sub :60 W (30 W + 30 W) at 4 Ω (80 Hz 10% THD)Input
26FrançaisCaractéristiquesCA-FSX5AmplificateurPuissancPrincipal :60 W (30 W + 30 W) à 4 Ω (1 kHz 10% THD)Secondaire :60 W (30 W + 30 W) à 4 Ω (80 Hz 1
G-3CAUTION About the Internal Cooling FanThis unit includes an internal cooling fan, so as to allow forhigh-power operation within a small space. Thi
1Table of ContentsEnglishIntroduction ... 2Featur
2EnglishIntroductionThank you for purchasing the JVC Compact Component System.We hope it will be a valued addition to your home, giving you years of e
3EnglishGetting StartedAccessoriesMake sure that you have all of the following items, which are supplied with the System.FM Wire Antenna (1)AM Loop An
4Getting StartedEnglishCAUTION:• Make all connections before plugging the System into an AC power outlet.Connecting the FM AntennaRear Panel of the Ce
5Getting StartedEnglishConnecting the AM AntennaRear Panel of the Center Unit (CA-FSX5)• If the AM loop antenna wire is covered with vinyl, remove the
Related products and manuals for CD players JVC FS-X5

 (48 pages)
(54 pages)
(28 pages)
(30 pages)
(22 pages)
(38 pages)
(48 pages)
(48 pages)
(54 pages)
(28 pages)
(30 pages)
(22 pages)
(38 pages)
(48 pages)
 (1 pages)
(24 pages)
(1 pages)
(24 pages)
 (27 pages)
(8 pages)
(1 pages)
(32 pages)
(27 pages)
(8 pages)
(1 pages)
(32 pages)
 (40 pages)
(2 pages)
(32 pages)
(40 pages)
(2 pages)
(32 pages)
 (56 pages)
(82 pages)
(56 pages)
(82 pages)
 (48 pages)
(52 pages)
(48 pages)
(52 pages)
© 2020, manymanuals.com. All rights reserved. | 0.018 s |
 Manymanuals.com
 Manymanuals.de
 Manymanuals.fr
 Manymanuals.it
 Manymanuals.pl
 Manymanuals.cz
 Manymanuals.es
 Manymanuals-pt.com
Comments to this Manuals