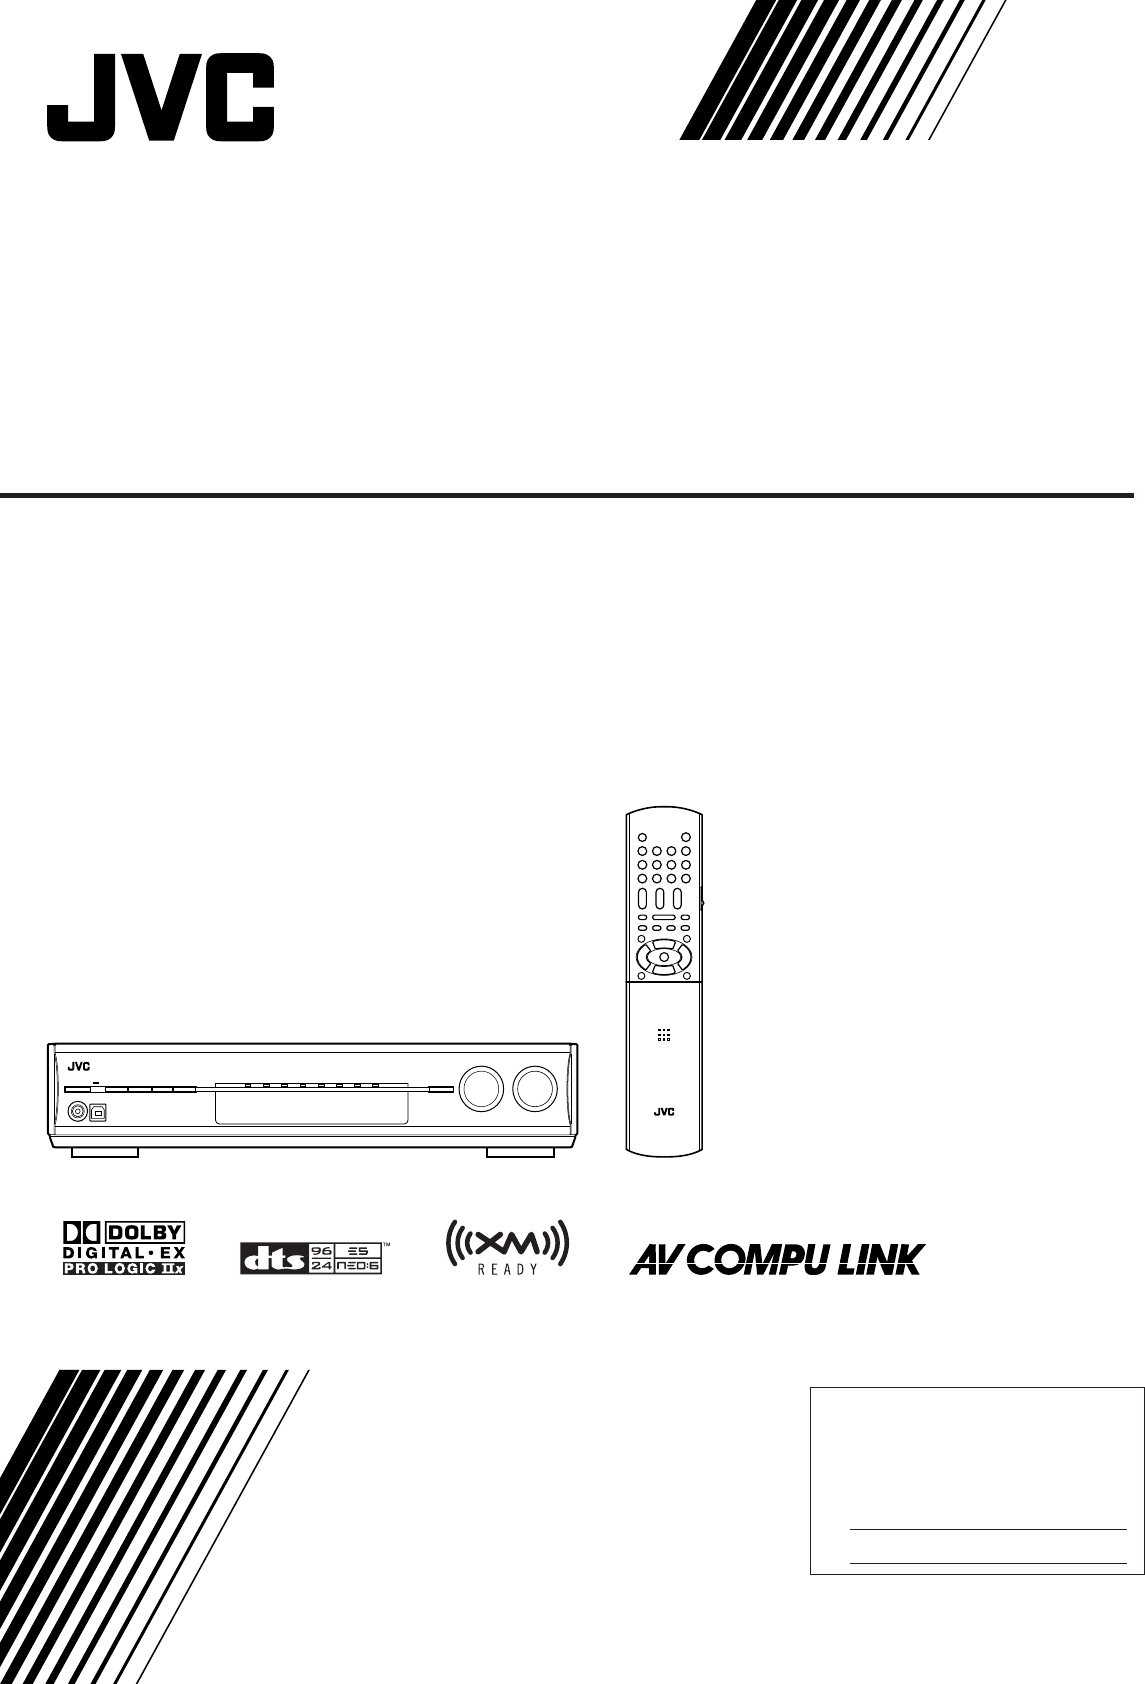
JVC RX-D212B User Manual
Browse online or download User Manual for AV receivers JVC RX-D212B. JVC RX-D212B User's Manual
- Page / 48
- Table of contents
- TROUBLESHOOTING
- BOOKMARKS
- RX-D211S / RX-D212B 1
- For Canada/pour Le Canada 2
- Table of Contents 3
- Parts identification 4
- Front panel 5
- Rear panel 5
- Display window 5
- Getting started 6
- Connecting antennas 7
- Connecting the speakers 8
- B, and PR correctly 10
- COMPONENT VIDEO 11
- Connecting the power cord 12
- USB connection 13
- Select the source to play 14
- Source lamps 14
- Turn on the power 14
- Current source name appears 14
- Adjust the volume 15
- <YES>.” For details 16
- Using preset tuning 17
- CONTINUED ON THE NEXT PAGE 17
- Preparation 19
- Channel number Channel name 19
- 7 Direct Channel Access 20
- 7 Channel Search 20
- 7 Category Search 20
- After one second 21
- Basic settings 22
- Basic setting items 23
- Operating procedure 24
- Setting the speakers 24
- EX/ES/PLIIx 25
- —DUAL MONO 26
- Setting bass sound 26
- Using the Midnight mode 26
- —MIDNIGHT MODE 26
- DBS VIDEO IN 27
- Basic adjustment items 28
- From the remote control: 29
- Adjusting the bass sounds 30
- Reproducing theater ambience 32
- 3D HEADPHONE mode 33
- About other digital signals 33
- <NO>” in the speaker 34
- Using the Surround/DSP modes 35
- <NO>,” “ALL CH STEREO” 36
- AV COMPU LINK 37
- Connecting procedure 38
- Operating other 39
- JVC products 39
- 7 DVD recorder or DVD player 40
- Troubleshooting 44
- Specifications 45
Summary of Contents
LVT1557-001B[J]RX-D211S / RX-D212BAUDIO / VIDEO CONTROL RECEIVERINSTRUCTIONSFor Customer Use:Enter below the Model No. and Serial No. which are locate
8ÅÎÇıCOMPONENT VIDEOMONITOROUTDVR/DVDINVCR(DBS)INYPBPRTV/SIRIUSINDBSIN OUT(REC)VCLRVIDEOOUTDBSINVIDEOS-VIDEOÅıΉÏÌÇAUDIOOUT(REC) IN(PLAY)VCRYPBPRCOMPO
9ıÇÎÅYPBPRCOMPONENT VIDEOMONITOROUTDVR/DVDINVCR(DBS)INTV/SIRIUSINDBINLRMONITOROUT/DVDLAY)Turn off all components before making connections.• When you
10DIGITAL IN2(DBS)1(DVR/DVD)3(VCR)About video signal conversionThis receiver can convert video signals. See the table below aboutvideo signal conversi
112. Check if the drivers are correctly installed.1. Open the Control Panel on your PC:Select [Start] = [Control Panel].2. Select [System] = [Hardware
122 Select the source to playOn the front panel:Turn SOURCE SELECTOR until the source nameyou want appears on the display.The source lamp correspondin
133 Adjust the volumeTo increase the volume, turn MASTER VOLUMEcontrol clockwise (or press VOLUME + on theremote control).To decrease the volume, turn
14Basic adjustment of auto memoryThis receiver memorizes sound settings for each source:• when you turn off the power, and• when you change the source
15FM/AM tuneroperationsTuning in to FM/AM stations manuallyFrom the remote control ONLY:1Press FM/AM to select the band.The last received station of t
163Press the numeric buttons (0 – 9, h10) toselect a channel number while the channelnumber position is flashing.•For channel number 5, press 5.•For c
17About XM Satellite RadioXM Satellite Radio is a satellite radio with digital-quality soundand over 170 digital channels, the most commercial-free mu
G-1Caution–– STANDBY/ON button!Disconnect the mains plug to shut the power off completely (thestandby lamp goes off). When installing the apparatus,
187 Direct Channel AccessYou can tune in to the desired channel directly by entering thechannel number.Before you start, remember...There is a time li
194Press MEMORY again while the selectedpreset number is flashing on the display.5Repeat steps 1 to 4 until you store all thedesired channels.To erase
20To obtain the best possible sound effect from Surround/DSPmodes (see pages 30 to 34), you need to set up the speaker andsubwoofer information after
21Speakers (channels) number and the sizeYou can find how each of the speaker size is defined according tothe number of connected speakers (speaker ch
22Operating procedureOn the front panel ONLY:Before you start, remember...There is a time limit in doing the following steps. If the setting iscancele
23In this case, set the distance as follows:Left front speaker (L): “FRONT L <3.0m> (10ft)”Right front speaker (R): “FRONT R <3.0m> (10ft)
24Selecting the main or sub channel—DUAL MONOYou can select the playback sound (channel) you want whileplaying digital software recorded (or broadcast
25Setting the digital input (DIGITAL IN)terminals—DIGITAL IN 1/2/3When you use the digital input terminals, register whatcomponents are connected to w
26Sound adjustmentsYou can make sound adjustment to your preference aftercompleting basic setting.Basic adjustment itemsYou can adjust the following i
27Adjusting the equalization patterns—D EQ 63Hz/250Hz/1kHz/4kHz/16kHzYou can adjust equalization patterns in five frequency bands(center frequency: 63
1Table of ContentsParts identification ... 2Getting started ...
28Adjusting the bass soundsReinforcing the bass—BASS BOOSTYou can boost the bass level—Bass Boost.• Once you have made an adjustment, it is memorized
29Adjusting the center channel localization for ProLogic IIx Music and Pro Logic II Music—CENTERWIDTHThis setting is available when Pro Logic IIx Musi
30Creating realisticsound fieldsReproducing theater ambienceIn a movie theater, many speakers are located on the walls toreproduce impressive multi-ch
31DTS Neo:6DTS Neo:6 is another conversion method to create 6-channel(plus subwoofer) from analog/digital 2-channel software by usingthe high precisio
32Introducing the DSP modesThe sound heard in a concert hall, club, etc. consists of directsound and indirect sound—early reflections and reflections
33PLII MOVIE/PLII MUSIC/PLII GAME/NEO:6 CINEMA/NEO:6 MUSICUsing the Surround/DSP modesAvailable Surround/DSP modes vary depending on the speaker setti
34On the front panel:Before you start, remember...There is a time limit in doing the following steps. If the setting iscanceled before you finish, sta
35AVCOMPU LINK EXAVCOMPU LINK-IIIAVCOMPU LINKAVCOMPU LINKAVCOMPU LINK-IIIAV COMPU LINKremote controlsystemThe AV COMPU LINK remote control system allo
36One-touch DVD playSimply by starting playback on the DVD player, you can enjoy theDVD playback without setting other switches manually.• When the DV
37You can use the supplied remote control to operate not onlythis receiver but also other JVC products.• Refer also to the manuals supplied with the o
2A/V CONTROL RECEIVERREMOTE CONTROL RM-SRXD211JMUTINGAUDIODVR/DVDVCRTV/SIRIUSUSBFM/AMDBS/CATVDVR/DVDVCRTVXMSIRIUSDBSTV VOLCHANNELVOLUMESELECTCATTUNING
38After setting the mode selector correctly, you can perform thefollowing operations on the DVD recorder or DVD player.See the instructions supplied w
39By changing the transmittable signals, you can use thesupplied remote control to operate other manufacturers’products.• Refer also to the manuals su
40❏ Changing the transmittable signals for operatinga VCR1Press and hold VCR .2Press VCR.3Enter the manufacturer’s code using buttons1 – 9, and 0.See
41Manufacturer CodesG.I. 01Gemini 02Hamlin 03, 04, 05, 06Jerrold 07, 08, 09, 10, 11, 12, 13, 14, 15Macom 16, 17, 18Magnavox 19Oak 20, 21, 22Panasonic
42TroubleshootingUse this chart to help you solve daily operational problems. Ifthere are any problems you cannot solve, contact your JVC’sservice cen
43Designs and specifications are subject to change withoutnotice.AmplifierOutput PowerAt stereo operation:Front channels: 110 W per channel, min. RMS,
warranty.p65 06.3.17, 11:511
warranty.p65 06.3.17, 11:512
0306RYMMDWJEINEN© 2006 Victor Company of Japan, LimitedAUDIO / VIDEO CONTROL RECEIVERRX-D211S / RX-D212Bcover_RX-D211S212B[J]f.p65 06.3.17, 11:512
3Front panel1 STANDBY/ON button and standby lamp (12)2 DIMMER button (14)3 SETTING button (20, 22)4 ADJUST button (26)5 SURROUND button (34)6 Source
4Putting batteries in the remote controlBefore using the remote control, put two supplied batteries first.1Press and slide the battery cover on the ba
5ANTENNAAM LOOPAM EXTCOAXIALFM 75 ANTENNA7 Connecting the XM Passport System (XM Passport and XM Passport Home Dock)*To enjoy XM Satellite Radio, con
6LRLSRSSBLCSWSBR(*SB)CAUTION:SPEAKER IMPEDANCE 6 -16 SURROUND BACKSPEAKERSSURROUNDSPEAKERSCENTERSPEAKERFRONTSPEAKERSLEFTRIGHT LEFTRIGHT LEFTRIGHTSU
7ÅıΉÏÌÇDVROUT(REC)DVR/DVDIN(PLAY)YPBPRCOMPONENT VIDEOMONITOROUTDVR/DVDINVCR(DBS)INDVROUT(REC)DVR/DVDIN(PLAY)This receiver is equipped with the follow
More documents for AV receivers JVC RX-D212B

Related products and manuals for AV receivers JVC RX-D212B
 (12 pages)
(48 pages)
(12 pages)
(48 pages)
 (40 pages)
(41 pages)
(63 pages)
(55 pages)
(34 pages)
(2 pages)
(40 pages)
(41 pages)
(63 pages)
(55 pages)
(34 pages)
(2 pages)
© 2020, manymanuals.com. All rights reserved. | 1.999 s |
 Manymanuals.com
 Manymanuals.de
 Manymanuals.fr
 Manymanuals.it
 Manymanuals.pl
 Manymanuals.cz
 Manymanuals.es
 Manymanuals-pt.com
Comments to this Manuals