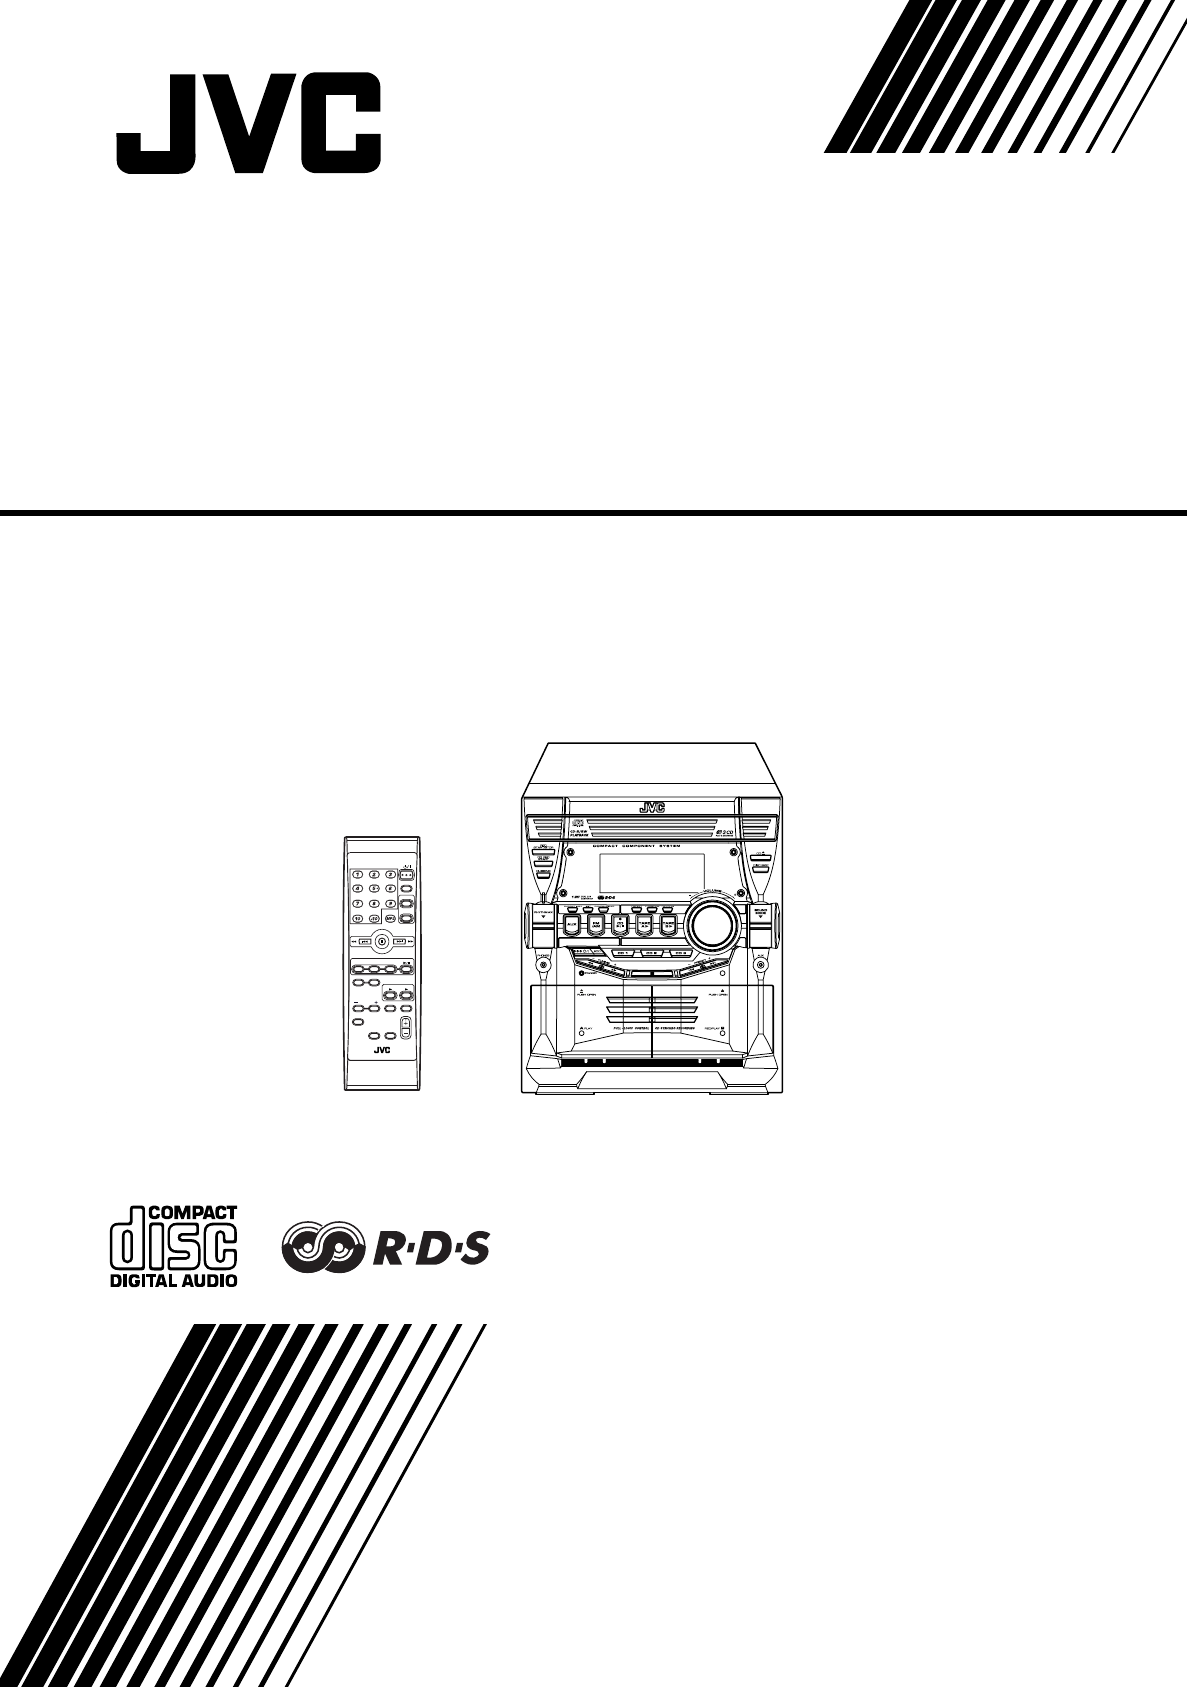
Jvc ca-mxkb4 User Manual
Browse online or download User Manual for Acoustics Jvc ca-mxkb4. JVC ca-mxkb4 User Manual
- Page / 32
- Table of contents
- BOOKMARKS
- CA-MXKB4 1
- Warnings, Cautions and Others 2
- SAFETY INSTRUCTIONS 3
- Introduction 4
- Table of Contents 5
- Getting Started 6
- Connecting the FM Antenna 7
- Connecting the Speakers 8
- Connecting External Equipment 9
- Connecting to the Wall Outlet 9
- DEMO Mode 9
- COMPU Play 9
- PROGRAM /RANDOM 10
- REMOTE CONTROL 10
- STANDBY/ON 10
- CAUTION: 11
- For private listening 11
- Using the Unit 13
- PS PTY RT Frequency 14
- One Touch Play 17
- On the remote control ONLY: 17
- About Disc Indicator: 17
- Normal Play 18
- To Make a Program 19
- Using the CD Player 20
- Locking the Tray 20
- Unlocking the Tray 20
- Tape travelling direction 23
- Using the Timers 26
- 21:30 23:0022:3022:00 29
- 21:30 22:30 29
- Recordable 30
- Troubleshooting 31
- Specification 31
- 0304HMMCREBET 32
Summary of Contents
LVT1215-003A[B]COMPACT COMPONENT SYSTEMCA-MXKB4FM MODEFM /AMAUXSLEEPSTANDBY/ONCD1CD2CD3SOUNDMODERHYTHM AXFADEMUTINGSELECTRDS MODE DISPLAY MODEVOLUMEPR
7Basic Operations)Turning the Power On and OffTurning the System On1Press the button.The display comes on and “POWER ON” is displayed once.The STAND
8Basic OperationsAdjusting the VolumeTurn the VOLUME control on the Unit clockwise to increase thevolume or turn it counterclockwise to decrease the v
9Using the TunerYou can listen to FM and AM (MW) stations. Stations can betuned in manually, automatically, or from preset memory storage.❏ Before lis
10Using the Tuner• In AM (MW) broadcast, reception sensitivity will bechanged by turning the AM (MW) loop antenna. Turn theAM (MW) loop antenna for be
11Using the TunerReceiving FM Stations withRDSYou can use the RDS (Radio Data System) by using the buttons onthe Remote Control.RDS allows FM stations
12Using the TunerPHONE IN: Programs where people can express their views ei-ther by phone or in a public formTRAVEL: Programs about travel destination
13Using the CD PlayerThis unit has been designed to playback the following CDs:• Audio CD• CD-R (CD-Recordable)• CD-RW (CD-ReWritable)• MP3 disc (MP3
14Using the CD PlayerAbout Disc Indicator:The Disc indicator consists of the following three kinds of indica-tors:One Touch PlayThe power comes on, an
15Using the CD PlayerBasics of Using the CD Player-Normal PlayTo Play CDs1Load CDs.2Press one of the Disc button (CD1-CD3) youwant to play.The selecte
16Using the CD PlayerProgramming the Playing Orderof the TracksYou can program the playing order of the tracks on all the CDs. Notethat you can only m
G-1Warnings, Cautions and OthersIMPORTANT for the U.K.DO NOT cut off the mains plug from this equipment. If the plug fit-ted is not suitable for the p
17Using the CD PlayerRandom PlayThe tracks of the selected CD will play in no special order whenyou use this mode.1In Stop mode, set the CD Player in
18Using the Cassette Deck (Listening to a Tape)The Cassette Deck allows you to play, record, and dub audio tapes.❏ Listening to type I tape is suitabl
19Using the Cassette Deck (Recording)Recording onto a cassette from any of the sound sources is simple.Just place a tape in Deck B, have the source r
20Using the Cassette Deck (Recording)Standard RecordingThis is the basic method for recording any source. The System alsohas special ways for recordin
21Using an External EquipmentListening to the ExternalEquipmentYou can listen to the external equipment such as portable CD, MDplayer, STB, or other a
22Using the TimersThree types of timers are available: DAILY Timer Use this timer to set wake up everyday to music from anysource, instead of an alarm
23Using the TimersSetting the Daily TimerOnce you have set the Daily Timer, the timer will be activated atthe same time every day. The Timer indicator
24Using the TimersPreparation for each music source:Perform the following operation according to the music sourceyou have selected. Then, the System e
25Using the TimersUsing the UnitYou can set the time in the same way as for setting the Daily Tim-er.1Insert a blank or erasable tape into the DeckB a
26Using the TimersSetting the SLEEP TimerUse the Sleep Timer to turn the System off after a certain numberof minutes when it is playing. By setting th
G-2SAFETY INSTRUCTIONS“SOME DOS AND DON’TS ON THE SAFE USE OF EQUIPMENT”This equipment has been disigned and manufactured to meet international safety
27Care And MaintenanceHandle your CDs and tapes carefully, and they will last a longtime.Compact DiscsCAUTION:• Do not use any solvent (for example, c
28Troubleshooting• If you are having a problem with your System, check this list for a possible solution before calling for service.• If you cannot so
0304HMMCREBETEN© 2004 Victor Company of Japan, LimitedMX-KB4(B).book Page 1 Tuesday, April 13, 2004 9:40 AM
1IntroductionThank you for purchasing the JVC Compact Component System.We hope it will be a valued addition to your home, giving you years of enjoymen
2Table of ContentsIntroduction ...1Fea
3Getting StartedAccessoriesMake sure that you have all of the following items, which are supplied with the System.AM (MW) Loop Antenna (1)FM Wire Ante
4Getting StartedCAUTION:• Make all connections before plugging the System into an AC power outlet.Connecting the FM AntennaUsing the Supplied Wire Ant
5Getting StartedConnecting the AM (MW) AntennaRear Panel of the Unit• Even when connecting an outside AM (MW) antenna, keep the indoor AM (MW) loop co
6Getting StartedConnecting External EquipmentConnect a signal cord with stereo mini plugs (not supplied) between the System’s AUX jack on the front pa
Related products and manuals for Acoustics Jvc ca-mxkb4
 (42 pages)
(10 pages)
(42 pages)
(10 pages)
 (2 pages)
(47 pages)
(2 pages)
(47 pages)
 (223 pages)
(2 pages)
(32 pages)
(28 pages)
(44 pages)
(33 pages)
(47 pages)
(223 pages)
(2 pages)
(32 pages)
(28 pages)
(44 pages)
(33 pages)
(47 pages)


 (112 pages)
(82 pages)
(52 pages)
(26 pages)
(112 pages)
(82 pages)
(52 pages)
(26 pages)

 (189 pages)
(57 pages)
(82 pages)
(189 pages)
(57 pages)
(82 pages)
© 2020, manymanuals.com. All rights reserved. | 0.144 s |
 Manymanuals.com
 Manymanuals.de
 Manymanuals.fr
 Manymanuals.it
 Manymanuals.pl
 Manymanuals.cz
 Manymanuals.es
 Manymanuals-pt.com
Comments to this Manuals