JVC FS-SD5 User Manual
Browse online or download User Manual for CD players JVC FS-SD5. JVC FS-SD5 User's Manual
- Page / 26
- Table of contents
- TROUBLESHOOTING
- BOOKMARKS
- FS-SD5/FS-SD7/FS-SD9 1
- Warnings, Cautions and Others 2
- Introduction 4
- Table of Contents 5
- Connecting the AM Antenna 8
- Rear Panel of the Unit 8
- Connecting the Speakers 9
- Attaching the Spacers 10
- Connecting a Subwoofer 10
- Connecting External Equipment 10
- Getting Started 11
- CAUTIONS: 11
- Basic Operations 12
- Using the Tuner 14
- CAUTION: 15
- Using the CD Player 16
- To Modify the Program 18
- Random Play 18
- Repeating Tracks 18
- Using External Equipments 19
- Using the Timers 20
- Setting the SLEEP Timer 22
- Care And Maintenance 23
- Troubleshooting 24
- Specifications 25
- 0500MNMCREJSC 26
- EN, SP, CH 26
Summary of Contents
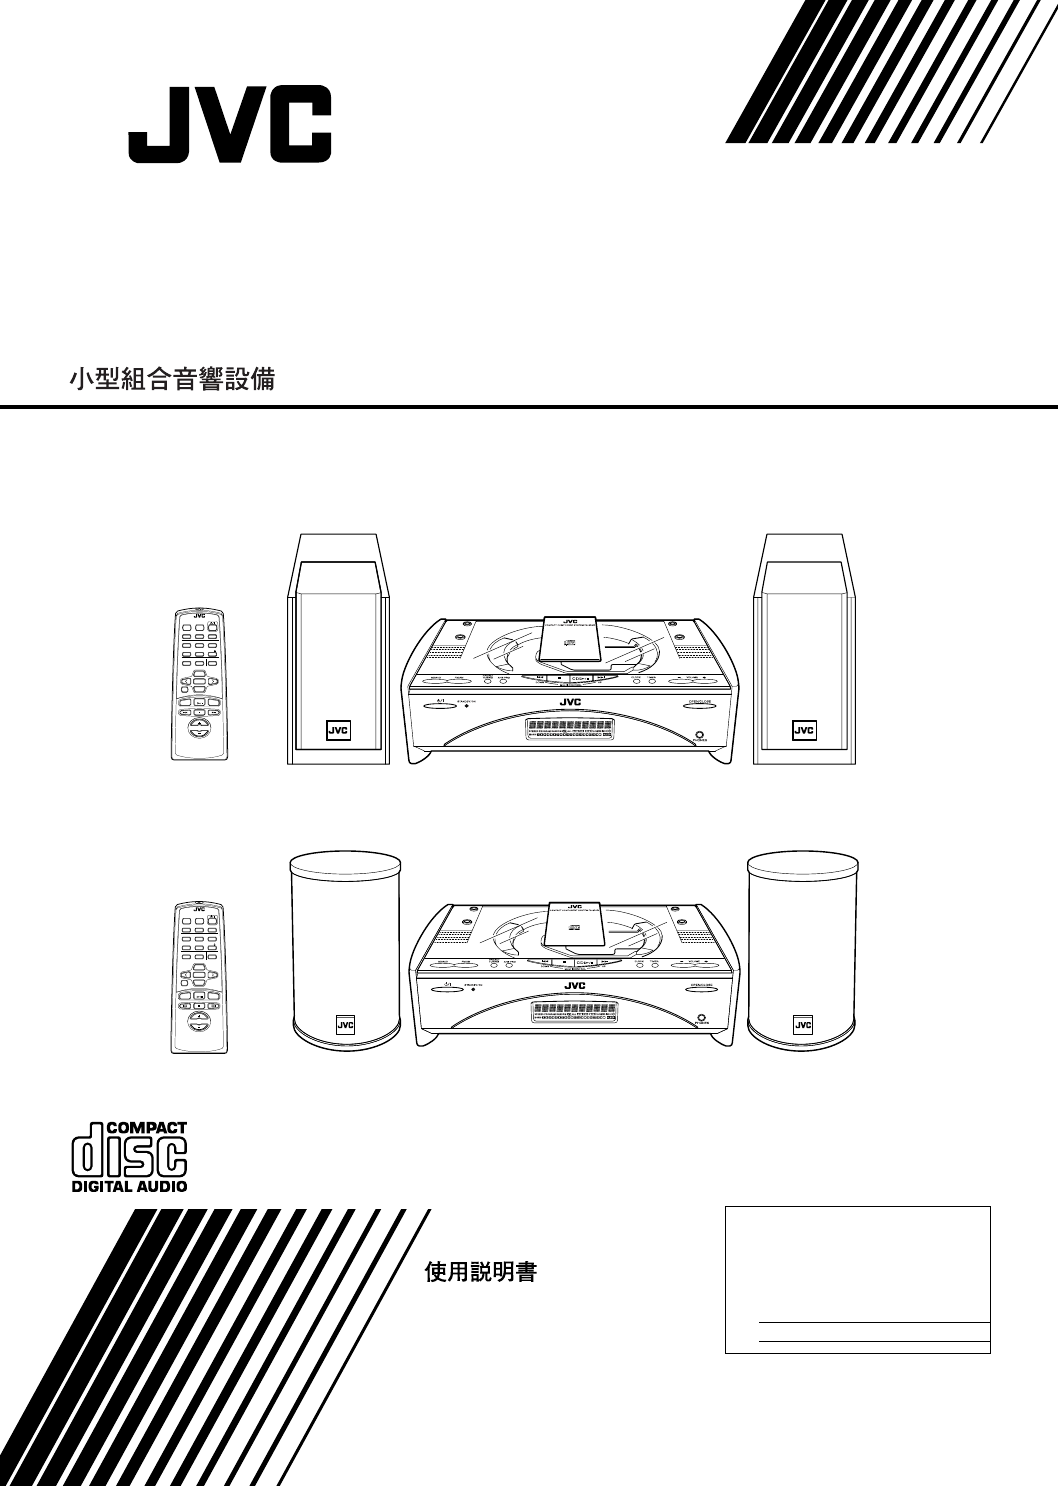
COMPACT COMPONENT SYSTEMSISTEMAS DE COMPONENTES COMPACTOSFS-SD5/FS-SD7/FS-SD9REMOTE CONTROL DIMMER SLEEPDISPLAY FM MODEAHB PROCDPROGRAMDOORSLIDEAUTOPR
7Getting StartedEnglishAttaching the SpacersCAUTION:NNNNooootttte e e e ffffoooor r r r iiiinnnnssssttttaaaallllllllaaaattttiiiioooonnnn• Take special
8Getting StartedEnglishConnecting the AC Power CordFirmly insert the supplied AC power cord into the AC inlet on the back of the Unit.CAUTIONS:• ONLY
9EnglishBasic OperationsTurning the Power On and OffTurning the System On Press the % button.The Top Cover moves backward and the Unit’s top buttonsap
10Basic OperationsEnglishFade-out Muting (FADE MUTING)You can mute the output with one touch operation.To mute the output, press the FADE MUTING butto
11EnglishUsing the TunerYou can listen to FM and AM stations. Stations can be tunedin manually, automatically, or from preset memory storage. Before
12Using the TunerEnglish● Preset Tuning using the UnitPress the PRESET TUNING button to select the de-sired preset number. Its band and frequency are
13EnglishUsing the CD PlayerYou can use Normal, Random, Program or Repeat Play. Re-peat Play can repeat all the tracks or just one of the trackson the
14Using the CD PlayerEnglishTo Unload a CDTake out the CD as shown below. Basics of Using the CD Player-Normal PlayTo Play a CD1Insert a CD.2Press the
15Using the CD PlayerEnglish6Press the SET button.7Repeat steps 5 and 6 to select the other tracks for the program.You can see the total playback time
16EnglishUsing External EquipmentsListening to External EquipmentYou can listen to external equipment such as MD recorder,turntable or other auxiliary
G-1Warnings, Cautions and OthersAvisos, precauciones y otras notasCAUTIONTo reduce the risk of electrical shocks, fire, etc.:1. Do not remove screws,
17EnglishUsing the TimersThe timers let you control listening functions automatically.Setting the Clock• Use the Unit’s button to set the clock.• When
18Using the TimersEnglish1Setting the ON time (Example: 10:15).1. Press the TIMER button on the Unit for more thantwo seconds.The Timer indicator ligh
19Using the TimersEnglishSetting the SLEEP Timer(Using the Remote Control)Use the Sleep Timer to turn the System off after a certainnumber of minutes
20EnglishCare And MaintenanceHandle your CDs carefully, and they will last a long time.Compact DiscsCAUTION:• Do not use any solvent (for example, con
21EnglishTroubleshooting• If you are having a problem with your System, check this list for a possible solution before calling for service.• If you ca
22EnglishSpecificationsAmplifier2XWSXWý3RZHU 32 W (16 W + 16 W) at 4 ohms (Max.),QSXWý6HQVLWLYLW\î,PSHGDQFHýõìýN+]ô0'î$8;ý,1 500 mV/47 kohms2XWSX
0500MNMCREJSCEN, SP, CHVICTOR COMPANY OF JAPAN, LIMITEDSUB WOOFERCD DIGITAL OUTANTENNAAM EXT FM(75 )COAXIALAM LOOPOUT INMD / AUXSPEAKERS IMPEDANCE
G-2Caution: Proper VentilationTo avoid risk of electric shock and fire, and to prevent damage, locate the apparatus as follows:1 Front: No obstruction
1EnglishIntroductionThank you for purchasing the JVC Compact Component System.We hope it will be a valued addition to your home, giving you years of e
Table of Contents2EnglishIntroduction ...1Feature
3EnglishGetting StartedAccessoriesMake sure that you have all of the following items, which are supplied with the System.Power Cord (1)AM Loop Antenna
4Getting StartedEnglishCAUTION:• Make all connections before plugging the System into an AC power outlet.Connecting the FM AntennaRear Panel of the Un
5Getting StartedEnglishConnecting the AM AntennaRear Panel of the UnitCAUTION:• To avoid noise, keep antennas away from the System, the connecting cor
6Getting StartedEnglishCAUTION:• Make all connections before plugging the System into an AC power outlet. Connecting the Speakers1. Open each of the t
Related products and manuals for CD players JVC FS-SD5
 (52 pages)

 (40 pages)
(28 pages)
(54 pages)
(26 pages)
(74 pages)
(117 pages)
(40 pages)
(28 pages)
(54 pages)
(26 pages)
(74 pages)
(117 pages)
 (56 pages)

 (80 pages)
 (36 pages)
(70 pages)
(56 pages)
(30 pages)
(24 pages)
(72 pages)
(32 pages)
(27 pages)
(53 pages)
(32 pages)
(16 pages)
(36 pages)
(70 pages)
(56 pages)
(30 pages)
(24 pages)
(72 pages)
(32 pages)
(27 pages)
(53 pages)
(32 pages)
(16 pages)
© 2020, manymanuals.com. All rights reserved. | 1.715 s |
 Manymanuals.com
 Manymanuals.de
 Manymanuals.fr
 Manymanuals.it
 Manymanuals.pl
 Manymanuals.cz
 Manymanuals.es
 Manymanuals-pt.com
Comments to this Manuals