Jvc Compact Component System CA-MXJ500 User Manual
Browse online or download User Manual for Acoustics Jvc Compact Component System CA-MXJ500. JVC Compact Component System CA-MXJ500 User Manual
- Page / 34
- Table of contents
- TROUBLESHOOTING
- BOOKMARKS
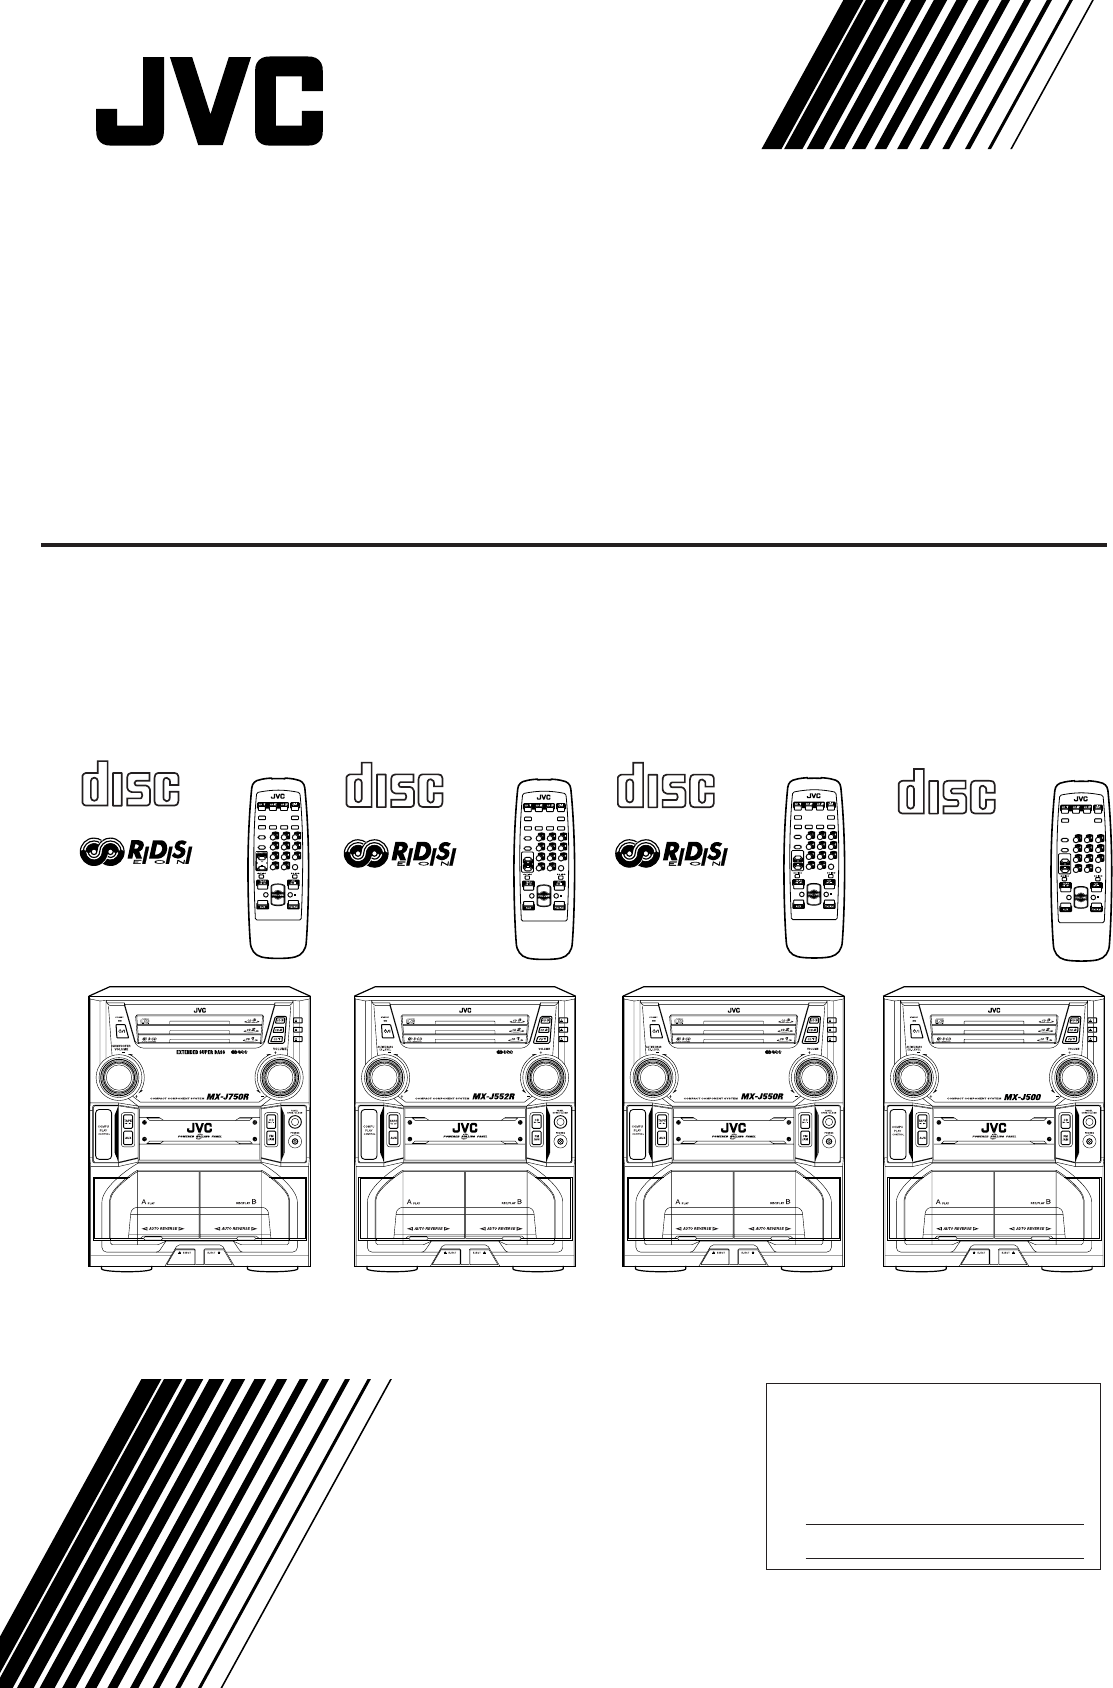
- CA-MXJ750R/CA-MXJ552R 1
- CA-MXJ550R/CA-MXJ500 1
- CLASS 1 5
- LASER PRODUCT 5
- Introduction 6
- Contents 7
- Front Panel 8
- Powered Rolling Panel 9
- Display window 9
- Display Window 9
- Remote Control 10
- Getting Started 11
- Connecting Speakers 12
- Connecting Other Equipment 13
- Common Operations 14
- Reinforcing the Bass Sound 15
- Selecting the Sound Modes 15
- Adjusting the Volume 15
- To use your own sound mode 16
- Tuning in a Station 17
- Presetting Stations 17
- Tuning in a Preset Station 17
- Changing the RDS Information 18
- Temporarily 19
- Playing Back CDs 20
- — Program Play 21
- Program Play 22
- Random Play 22
- Continuous Play 22
- Playing Back Tapes 23
- Recording 24
- CD Direct Recording 25
- Dubbing Tapes 25
- Auto Edit Recording 26
- Using the Timers 27
- Using Recording Timer 28
- Canceled 29
- 30 60 90 120 29
- Maintenance 30
- Troubleshooting 31
- Additional Information 32
- Specifications 33
- EN, GE, FR, NL, SP, IT 34
- 0100MWMMDWJEM 34
Summary of Contents
GVT0029-006A[ E ]For Customer Use:Enter below the Model No. and Serial No. which are located either on the rear, bottom or side of the cabinet. Retain
– 5 –EnglishWhen using the remote control, point it atthe remote sensor on the front panel.Remote ControlRemote Control1 Disc number buttons (CD1, CD2
– 6 –EnglishGetting StartedUnpackingAfter unpacking, check to be sure that you have all thefollowing items.The number in the parentheses indicates the
– 7 –English1 Connect the AM (LW/MW) loop antenna tothe AM LOOP terminals as illustrated.2 Turn the AM (LW/MW) loop antenna untilyou have the best rec
– 8 –EnglishFor playing the other equipment through this unit,connect between the audio output jacks on the otherequipment and AUX jacks by using audi
– 9 –EnglishCommon OperationsTurning On or Off the PowerTo turn on the unit, press so that theSTANDBY lamp goes off.The Powered Rolling Panel opens
– 10 –EnglishWhen using the remote control, press SUBWOOFER + toincrease the subwoofer volume or press SUBWOOFER – todecrease it.For CA-MXJ552R/CA-MXJ
– 11 –EnglishSurround modes *:D.CLUB: Increases resonance and bass.HALL: Adds depth and brilliance to the sound.STADIUM: Adds clarity and spreads the
– 12 –EnglishListening to FM and AM (LW/MW) BroadcastsTuning in a Station1Press FM/AM.The unit automatically turns on and tunes inthe previously tuned
– 13 –EnglishReceiving FM Stations with RDSThis section is for the model having RDS functions —that is CA-MXJ750R, CA-MXJ552R, and CA-MXJ550R.RDS allo
– 14 –EnglishSwitching to a Program Type of Your ChoiceTemporarilyBy receiving EON data sent by FM RDS stations, the EONfunction allows the unit to sw
Warnings, Cautions and Others / Warnung, Achtung und sonstige Hinweise / Mises en garde,précautions et indications diverses / Waarschuwingen, voorzorg
– 15 –EnglishPlaying Back CDsLoading CDsOn the unit ONLY:1Press 0 for the disc tray (CD1 to 3)you want to load a CD onto.The unit automatically turns
– 16 –EnglishTo locate a particular point in a trackDuring play, press and hold 1 or ¡.• 1: Fast reverses the disc.• ¡: Fast forwards the disc.When us
– 17 –EnglishTo stop during play, press 7.• Random play also stops when one of the disc trays isopened.To exit from Random play mode, press PROGRAM/RA
– 18 –EnglishPlaying Back TapesYou can play back type I, type II, and type IV tapes withoutchanging any settings.Playing Back a Tape1Press EJECT (0) f
– 19 –EnglishRecordingRecording a Tape on Deck B1Press EJECT 0 for the deck B.2Put in a recordable cassette, with the exposedpart of the tape down.3Cl
– 20 –EnglishCD Direct RecordingEverything on the CD goes onto the tape in the order it is onthe CD, or according to the order you have made for Progr
– 21 –EnglishAuto Edit RecordingBy using Auto Edit Recording, you can record the CD tracksto fit the tape. Auto Edit Recording makes a program byselec
– 22 –EnglishUsing the TimersThere are three timers available — Recording Timer, DailyTimer, and Sleep Timer.Before using the timers, you need to set
– 23 –EnglishDAILYCanceledON TIMEON TIMEClocksetting(See page 9.)REC6When selecting “– CD – –”1) Press 4 or ¢ to select the discnumber, then press
– 24 –EnglishUsing Sleep TimerWith Sleep Timer, you can fall asleep to music.You can set Sleep Timer when the unit is turned on.How Sleep Timer actual
Caution –– switch!Disconnect the mains plug to shut the power off completely. The switch in any position does not disconnect the mains line. The pow
– 25 –EnglishMaintenanceTo get the best performance of the unit, keep your discs, tapes, and mechanism clean.Handling cassette tapes• If the tape is l
– 26 –EnglishIf you are having a problem with your unit, check this list for a possible solution before calling for service.If you cannot solve the pr
– 27 –EnglishClassification of the PTY codes for some FM stationsmay be different from the above list.Description of the PTY codes:NEWS:News.AFFAIRS:
– 28 –EnglishSpecifications CA-MXJ750RAmplifier sectionOutput Power (IEC 268-3/DIN)SUBWOOFERS: 65 W per channel, min. RMS, both channelsdriven into 6
VICTOR COMPANY OF JAPAN, LIMITEDEN, GE, FR, NL, SP, ITJVC0100MWMMDWJEMCover-CA-MXJ500,etc[E]/f 00.1.10, 1:59 PM6
Front view Side viewVorderansicht SeitenansichtFace CôtéVooraanzicht ZijaanzichtVista frontal Vista lateralVista frontale Vista lateraleCaution: Prope
IMPORTANT FOR LASER PRODUCTS / WICHTIGER HINWEIS FÜR LASER-PRODUKTE / IMPORTANT POUR LES PRODUITS LASER /BELANGRIJKE INFORMATIE VOOR LASERPRODUKTEN /
– 1 –EnglishIntroductionAbout This ManualThis manual is organized as follows:• The manual mainly explains operations using thebuttons and controls on
– 2 –EnglishContentsLocation of the Buttons and Controls... 3Front Panel ...
– 3 –English123678 9 p q w rtui54CA-MXJ750RCA-MXJ552RCA-MXJ550RCA-MXJ500eyojlk/zxcvnb;asdfghLocation of the Buttons and ControlsBecome familiar with t
– 4 –EnglishSee pages in the parentheses for details.Front Panel1 Disc trays2 (On/Standby) button and STANDBY lamp (9)3 Display window4 For CA-MXJ750
Related products and manuals for Acoustics Jvc Compact Component System CA-MXJ500
 (2 pages)
(40 pages)
(2 pages)
(63 pages)
(35 pages)
(2 pages)
(40 pages)
(2 pages)
(63 pages)
(35 pages)

 (4 pages)
 (41 pages)
(1 pages)
(41 pages)
(1 pages)
 (84 pages)
(35 pages)
(93 pages)
(26 pages)
(84 pages)
(35 pages)
(93 pages)
(26 pages)
 (34 pages)
(28 pages)
(212 pages)
(34 pages)
(28 pages)
(212 pages)
 (8 pages)
(64 pages)
(160 pages)
(128 pages)
(8 pages)
(8 pages)
(64 pages)
(160 pages)
(128 pages)
(8 pages)
© 2020, manymanuals.com. All rights reserved. | 7.383 s |
 Manymanuals.com
 Manymanuals.de
 Manymanuals.fr
 Manymanuals.it
 Manymanuals.pl
 Manymanuals.cz
 Manymanuals.es
 Manymanuals-pt.com
Comments to this Manuals