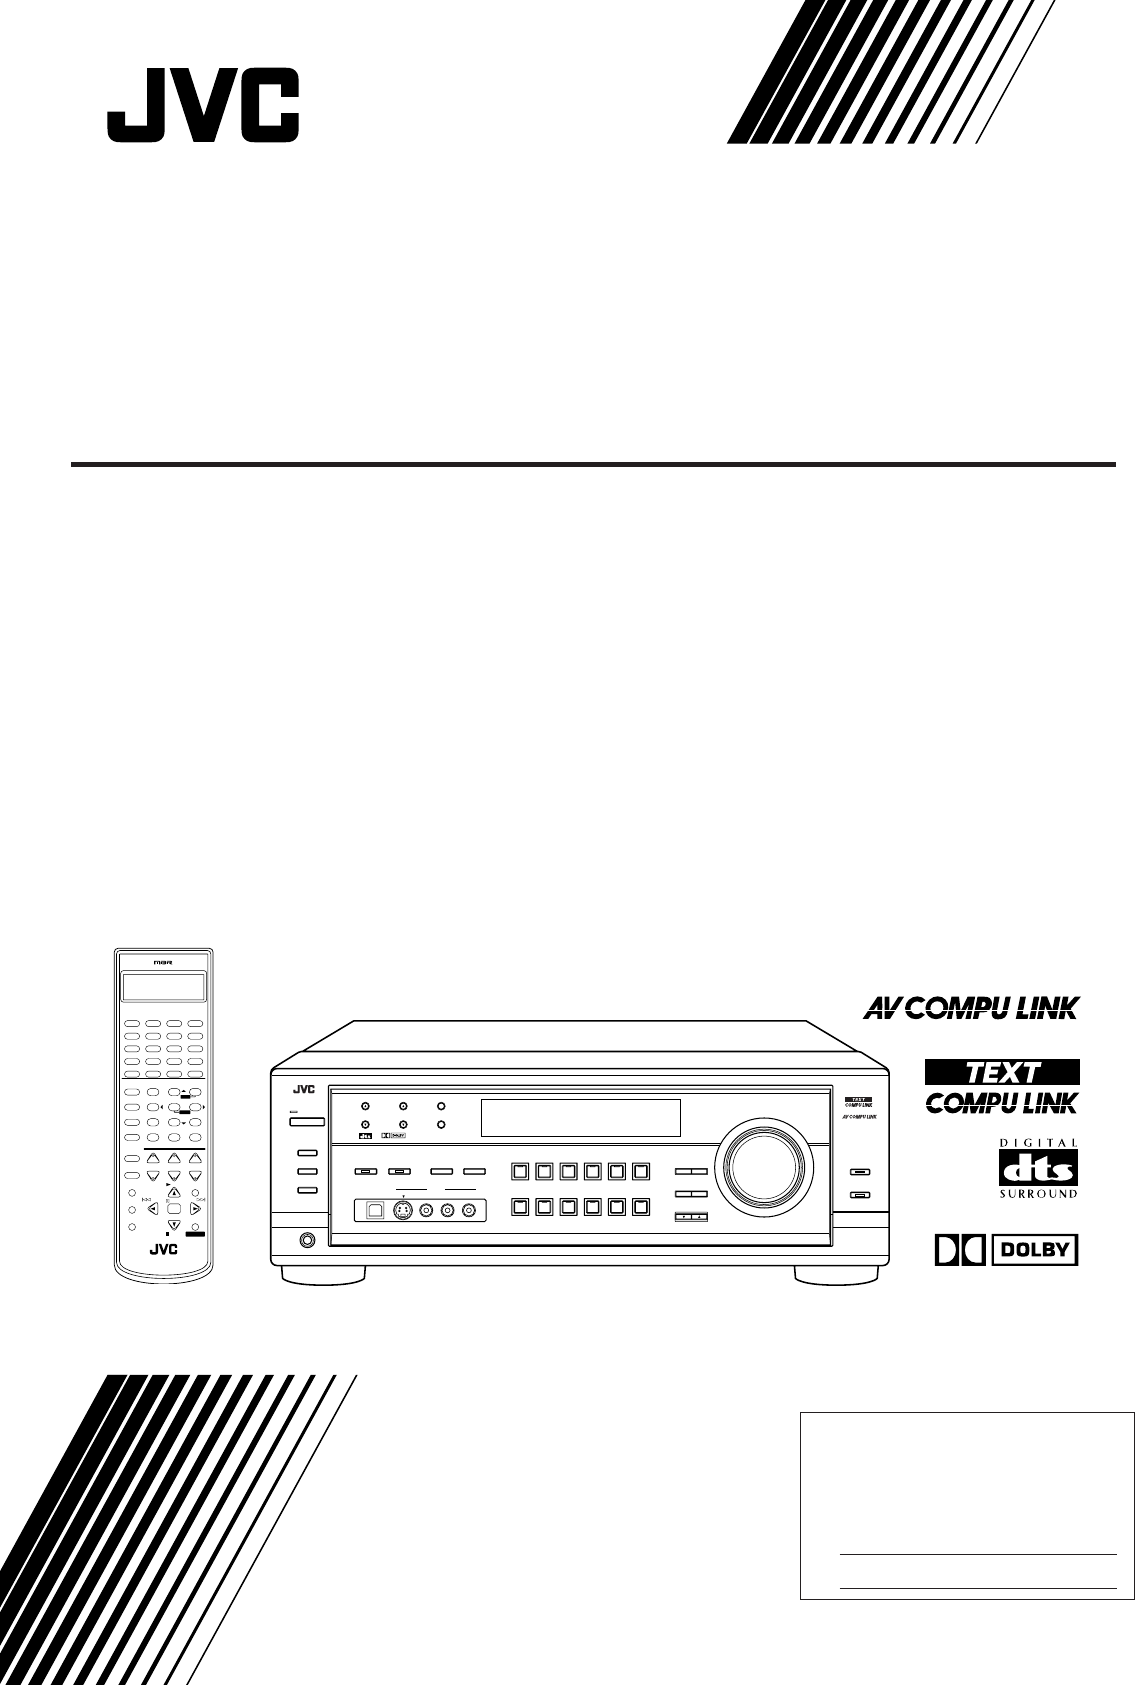
Jvc RX-8010VBK User Manual
Browse online or download User Manual for Receivers and Amplifiers Jvc RX-8010VBK. JVC RX-8010VBK User Manual
- Page / 62
- Table of contents
- BOOKMARKS
- RX-8010VBK 1
- RISK OF ELECTRIC SHOCK 2
- DO NOT OPEN 2
- For Canada/pour le Canada 3
- Table of Contents 4
- Parts Identification 5
- Getting Started 6
- Basic connecting procedure 7
- Connecting the front speakers 7
- AM Antenna Connections 7
- IMPORTANT: 7
- Audio component connections 8
- Video component connections 9
- RIGHT LEFT 10
- Digital Connections 11
- USB Connection 12
- Basic Operations 14
- Adjusting the Volume 15
- Selecting the Front Speakers 16
- Muting the Sound 16
- Attenuating the Input Signal 17
- Reinforcing the Bass 17
- Using the Sleep Timer 18
- Recording a Source 18
- Basic Settings 19
- LARGE SMALL NONE 20
- 80Hz 100Hz 120Hz 21
- 0dB 10dB 22
- DGTL AUTO 23
- On the front panel ONLY: 24
- To store the volume level 24
- Receiving Radio Broadcasts 25
- On the front panel: 26
- From the remote control: 26
- DOLBY SURROUND 27
- Reproducing the Sound Field 28
- EFFECT 1 EFFECT 2 EFFECT 3 34
- EFFECT 4EFFECT 5 34
- ROOMSIZE 1 35
- ROOMSIZE 5 ROOMSIZE 4 35
- ROOMSIZE 2 ROOMSIZE 3 35
- DVD MUILTI 38
- Using the On-Screen Menus 39
- (Also see page 15) 40
- (Also see pages 27 – 34) 40
- “NONE” (see page 17) 41
- (Also see pages 16 – 21) 43
- COMPU LINK – 4 44
- (SYNCHRO) 44
- Note on 46
- For the MD recorder: 49
- COMPU LINK III 50
- Operating Audio Components 52
- Operating Video Components 54
- RM-SRX8010J 55
- Troubleshooting 58
- SOLUTION 58
- POSSIBLE CAUSE 58
- Specifications 60
- FM tuner (IHF) 61
- AM tuner 61
- 0401NHMMDWJEIN 62
Summary of Contents
For Customer Use:Enter below the Model No. and Serial No. which are located either on the rear, bottom or side of the cabinet. Retain this information
7EnglishVIDEOFRONTRIGHT LEFTDVDTV SOUNDDBSOUT(REC)IN(PLAY)VCR1OUT(REC)IN(PLAY)VCR2MONITOROUTS-VIDEOVIDEOAUDIOCOMPONENT VIDEOMONITOROUTDBSDVDYPB/CBPR/C
8EnglishPCM/DOLBY DIGITAL/DTSDIGITAL OUTDVDDIGITAL INDIGITAL 3 (TV) DIGITAL 4 (CDR)DIGITAL 2 (CD)DIGITAL 1 (DVD)DBS Digital ConnectionsThis receiver i
9English*MicrosoftR, WindowsR 98, WindowsR Me and WindowsR 2000 areregistered trademarks of Microsoft Corporation. USB ConnectionThis receiver is equi
10EnglishConnecting the Power CordBefore plugging the receiver into an AC outlet, make sure that allconnections have been made.Plug the power cord int
11EnglishBasic OperationsThe following operations are commonly used when you play any sound source. You can also use on-screen menus formost of the op
12EnglishNotes:• When connecting an MD recorder (to the TAPE/MD jacks), and aDBS tuner (to the TV SOUND/DBS jacks), change the sourcenames shown on th
13EnglishMUTINGSelecting the Front SpeakersIMPORTANT:You can activate two pairs of the front speakers at the same time onlywhen the SPEAKER LOAD SELEC
14EnglishSUBWOOFER OUT ON/OFFActivating the Subwoofer SoundYou can cancel the subwoofer sound even though you haveconnected a subwoofer and have set “
15EnglishUsing the Sleep TimerUsing the Sleep Timer, you can fall asleep to music and know thereceiver will turn off by itself rather than play all ni
16EnglishWhen changing the source name from “TV” to“DBS”:• Press and hold SOURCE NAME (TVSOUND/DBS) until “ASSGN. DBS”appears on the display.To change
G-1Warnings, Cautions and Others/Mises en garde, précautions et indications diverses CAUTION: TO REDUCE THE RISK OF ELECTRIC SHOCK.
17EnglishCT SETTINGCONTROLDOWN UPSetting the Speakers for a SurroundFieldTo obtain the best possible surround sound of the Surround and DSPmodes, you
18EnglishCONTROLDOWN UPCT SETTINGCenter Delay Time SettingRegister the delay time of the sound from the center speaker,comparing to that of the sound
19EnglishLow Frequency Effect Attenuator SettingIf the bass sound is distorted while playing back a source usingDolby Digital or DTS Digital Surround,
20EnglishTV SOUND/DBSVIDEOVCR 2VCR 1DVDDVD MULTIFM / AMUSB AUDIOTAPE / MDCDRCDPHONOSOURCE NAMESOURCE NAMESelecting the Analog or Digital InputModeWhen
21EnglishCONTROLDOWN UPCT SETTINGNORM(Normal)TEXTShowing the Text Information on theDisplayWhen you have connected an MD recorder or CD player equippe
22EnglishReceiving Radio BroadcastsYou can browse through all the stations or use the preset function to go immediately to a particular station. You c
23EnglishTo tune in a preset stationOn the front panel:1. Press FM/AM to select the band(FM or AM).The FM/AM lamp on the front panel button lightsup.
24EnglishCreating a Surround Field in Your RoomThe built-in Surround Processor provides Surround mode and four types of the DSP (Digital Signal Proces
25EnglishReproducing the Sound FieldThe sound heard in a concert hall or club consists of direct soundand indirect sound — early reflections and refle
26EnglishAvailable DSP Modes According to the Speaker ArrangementAvailable DSP modes will vary depending on how many speakers are used with this recei
G-2For Canada/pour Le CanadaTHIS DIGITAL APPARATUS DOES NOT EXCEED THE CLASSB LIMITS FOR RADIO NOISE EMISSIONS FROM DIGITALAPPARATUS AS SET OUT IN THE
27English9∗CENTER+10∗REAR R100+0∗REAR L FM MODE5. Select the speaker you want to adjust.• To select the center speaker level, press CENTER.“CTR” appea
28English2. Press SURROUND ON/OFF toactivate an appropriate Surroundmode — PRO LOGIC, DOLBYDIGITAL or DTS SURROUND.The SURROUND ON/OFF lamp on the fr
29English4. Adjust the overall levels of the effect.1) Press EFFECT repeatedly until“EFFECT” appears on the display.The display shows the current sett
30EnglishMENU4TESTTEST TONE L(Left front speaker)TEST TONE LS(Left rear speaker)TEST TONE RS(Right rear speaker)TEST TONE C(Center speaker)TEST TONE R
31EnglishEFFECT 1 EFFECT 2 EFFECT 3EFFECT 4EFFECT 53SIZEROOMROOMSIZE 1ROOMSIZE 5 ROOMSIZE 4ROOMSIZE 2 ROOMSIZE 36LIVENESSLIVENESS 1LIVENESS 5 LIVENESS
32EnglishEFFECT SETTIN7. Adjust the room size (sense of spaciousness).1) Press EFFECT repeatedly until“ROOMSIZE” appears on the display.The display sh
33English4. Press LEVEL +/– to adjust thespeaker output levels (–10 dB to+10 dB).5. Press SOUND.• To adjust other speaker output levels, repeatsteps 3
34English4. Adjust the overall levels of the effect.1) Press EFFECT repeatedly until“EFFECT” appears on the display.The display shows the current sett
35EnglishUsing the DVD MULTI Playback ModeThis receiver provides the DVD MULTI playback mode for reproducing the analog discrete output mode of the DV
36EnglishUsing the On-Screen MenusYou can use the Menus on the TV screen to control the receiver.To use this function, you need to connect the TV to t
1EnglishTable of ContentsCreating a Surround Field in Your Room... 247 Surround modes...
37English Adjusting the Equalization Pattern(Also see page 15)1. Press MENU.The MENU appears on the TV.• Pressing one of the 5 / ∞ / 2 / 3 buttons als
38English5. Press 5 / ∞ to move to the item you want toset or adjust, then press 2 / 3.On this adjustment menu, you can do the following:“L/R BALANC
39English Operating the Tuner (Also see pages 22 and 23)1. Select FM or AM as the playing source.Press FM/AM.2. Press MENU.The MENU appears on the TV.
40English Setting the Basic Setting Items(Also see pages 16 – 21)1. Press MENU.The MENU appears on the TV.• Pressing one of the 5 / ∞ / 2 / 3 buttons
41EnglishCOMPU LINK Remote Control SystemThe COMPU LINK remote control system allows you to operate JVC audio components through the remote sensor ont
42EnglishTEXTCOMPU LINKCOMPU LINK – 4(SYNCHRO)TEXT COMPU LINK Remote Control SystemThe TEXT COMPU LINK remote control system has been developed to dea
43EnglishOn-Screen Operation buttons (on the remote control)CONTROL+−+−+−231564897/P0+1010LINE DIF.ECT BOOST EFFECTMENUENTERSIZEROOMBASSMODETESTCTR TO
44English Searching for a Disc (Only for the CD player)Search for a disc by its performer:1. Press TEXT DISPLAY while “CD” is selected asthe source.Th
45English Entering the Disc InformationFor the CD Player with the disc memory function:You can use the disc memory function through this receiver.The
46EnglishFor the MD recorder:You can write the disc information (disc title and song titles) into thedisc. You can only write the song title for the s
2EnglishParts IdentificationBecome familiar with the buttons and controls on the receiver before use.Refer to the pages in parentheses for details.CON
47EnglishAV COMPU LINK Remote Control SystemThe AV COMPU LINK remote control system allows you to operate JVC video components (TV, VCR, and DVD playe
English48One-Touch DVD PlaySimply by starting playback on the DVD player, you can enjoy theDVD playback without setting other switches manually.• When
49EnglishOperating JVC’s Audio/Video ComponentsYou can operate JVC’s audio and video components with this receiver’s remote control, since control sig
English50CD changerAfter selecting “CDDSC” by pressing CONTROL repeatedly, youcan perform the following operations on a CD changer:3 PLAY: Starts play
51EnglishVCR 1 (VCR connected to the VCR 1 jacks)You can always perform the following operations:VCR 1 POWER: Turns on or off the VCR 1.After pressing
English52Operating Other Manufacturers’ Video EquipmentManufacturer CodesJVC 00, 02, 13, 14,47, 74AKAI 01, 02BLAUPUNKT 03, 04FISHER 01, 05GRUNDIG 03,
53EnglishTo change the transmittable signals foroperating a CATV converter or DBS tuner1. Press and hold CATV/DBS POWER.2. Press CATV/DBS CONTROL.3 En
English54To change the transmittable signals foroperating a DVD player1. Press and hold AUDIO POWER.2 Press DVD.3. Enter manufacturer’s code using but
55EnglishTroubleshootingUse this chart to help you solve daily operational problems. If there is any problem you cannot solve, contact your JVCservice
English56SOLUTION1. Press POWER on the front panel to turn offthe receiver.2. Stop the playback source.3. Turn on the receiver again, and adjust thevo
3EnglishGetting StartedThis section explains how to connect audio/video components and speakers to the receiver, and how to connect thepower supply.Be
57EnglishSpecificationsAmplifierOutput Power:At Stereo operation:Front channels:120 W per channel, min. RMS, driven into 8 Ω, 20Hz to 20 kHz with no m
English58FM tuner (IHF)Tuning Range: 87.5 MHz to 108.0 MHzUsable Sensitivity: Monaural: 12.8 dBf (1.2 µV/75 Ω)50 dB Quieting Sensitivity: Monaural: 21
VICTOR COMPANY OF JAPAN, LIMITEDEN, FR0401NHMMDWJEINJVCRX-8010V[C]COVER_f 01.4.9, 2:02 PM2
4EnglishBasic connecting procedure1 Cut, twist and remove the insulation at the end ofeach speaker signal cable (not supplied).2 Turn the knob counter
5EnglishConnecting the rear and center speakersConnect rear speakers to the REAR SPEAKERS terminals and acenter speaker to the CENTER SPEAKER terminal
6EnglishCassette deck or MD recorderVideo component connectionsUse the cables with RCA pin plugs (not supplied).Connect the white plug to the audio le
Related products and manuals for Receivers and Amplifiers Jvc RX-8010VBK
 (6 pages)

 (20 pages)
© 2020, manymanuals.com. All rights reserved. | 0.122 s |
 Manymanuals.com
 Manymanuals.de
 Manymanuals.fr
 Manymanuals.it
 Manymanuals.pl
 Manymanuals.cz
 Manymanuals.es
 Manymanuals-pt.com
Comments to this Manuals