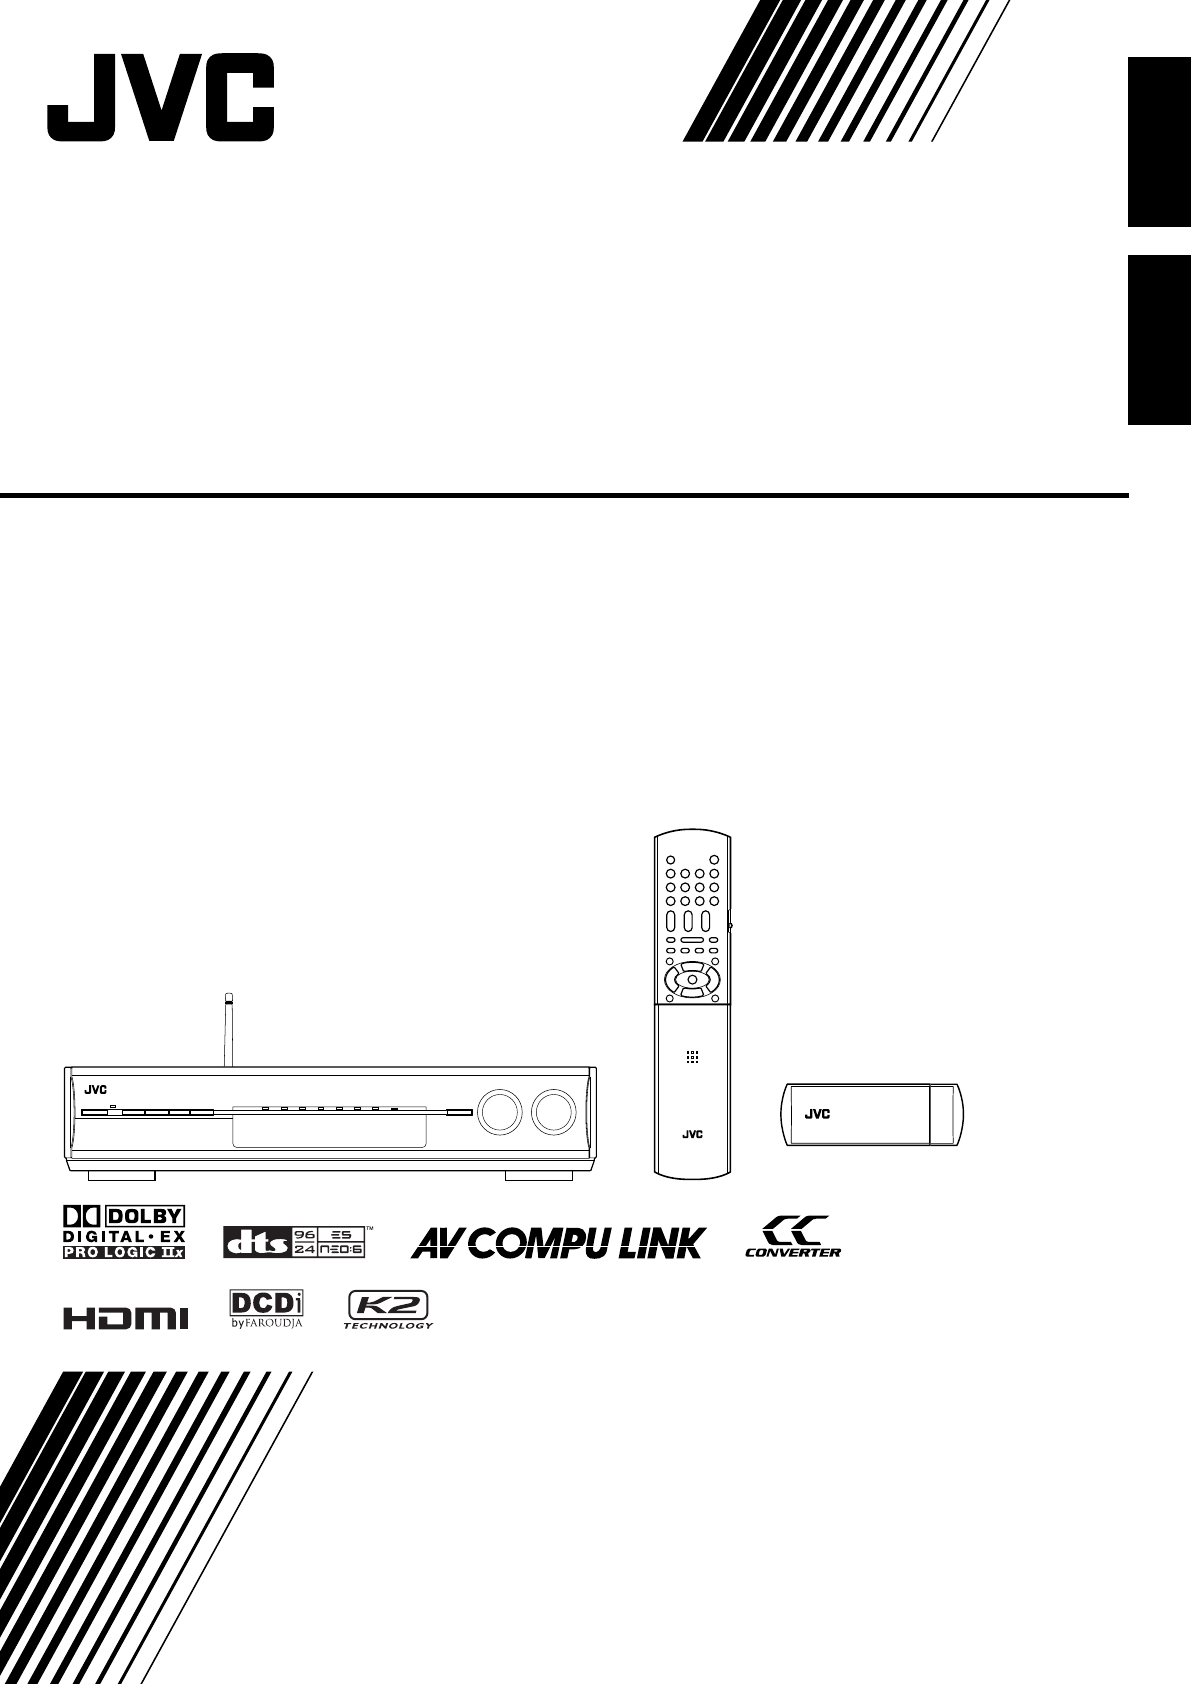
JVC RX-D702B User Manual
Browse online or download User Manual for AV receivers JVC RX-D702B. JVC RX-D702B User's Manual
- Page / 114
- Table of contents
- TROUBLESHOOTING
- BOOKMARKS
- RX-D702B 1
- For Canada/pour le Canada 2
- Introduction 3
- Table of Contents 4
- Parts identification 5
- Front panel 6
- Rear panel 7
- Display window 7
- Getting started 8
- AM antenna connection 9
- FM antenna connection 9
- Connecting the speakers 10
- Connecting video components 11
- MONITOR OUT 12
- B, and PR correctly 13
- OUT(REC) IN(PLAY) 15
- VCR(DBS) IN 16
- VIDEO L – AUDIO – R 17
- DIGITAL OUT 18
- PCM/STREAM 18
- USB connection 19
- Basic operations 21
- Adjust the volume 22
- AUTO SURR 23
- Making sounds natural 24
- Basic settings 25
- Menu operation buttons 27
- Setup menu configuration 28
- Menu operating procedure 29
- Setting the items 30
- —S BACK OUT 31
- —DUAL MONO 32
- Setting bass sound 32
- Setting the Audio delay level 33
- —AUDIO DELAY 33
- Sound adjustments 35
- Adjusting the items 38
- Surround/DSP modes 39
- Adjusting the bass sounds 39
- Tuner operations 41
- To tune in a preset station 42
- Creating realistic 43
- About other digital signals 44
- Introducing the DSP modes 45
- Using the Surround/DSP modes 46
- AV COMPU LINK 48
- Connecting procedure 49
- Operating other 50
- JVC products 50
- 7 DVD recorder or DVD player 51
- Troubleshooting 55
- Specifications 57
- Table des matières 59
- Identification des 60
- Pour commencer 63
- Connexion des enceintes 65
- Connexion des appareils vidéo 66
- DVR/DVD IN 68
- DIGITAL IN 73
- 1(DVR/DVD) 73
- Connexion USB 74
- Fonctionnement 76
- Ajustement du volume 77
- Coupure temporaire du son 78
- Sélection du mode de décodage 78
- Pour rendre les sons naturels 79
- Réglages de base 80
- Touches de commande des menus 82
- Réglages des éléments 85
- Réglage des sons graves 87
- —EX/ES/PLIIx 87
- (DIGITAL IN)—DIGITAL IN 1/2/3 88
- Ajustements 90
- Ajustements des éléments 93
- Ajustement des sons graves 94
- Création de 98
- Introduction des modes DSP 100
- Français 101
- Système de 103
- COMPU LINK 103
- Commande 105
- Guide de 110
- Spécifications 112
- 0905RYMMDWJEIN 113
Summary of Contents
EnglishFrançaisLVT1437-008A[C]INSTRUCTIONSMANUEL D’INSTRUCTIONSRX-D702BAUDIO / VIDEO CONTROL RECEIVERRECEPTURE DE COMMANDE AUDIO/VIDEOcover_RX-D702B[C
8EnglishFLFRSLSRSBLCSWSBR(*SB)SUBWOOFEROUTLEFTRIGHT LEFTRIGHT LEFTRIGHTCAUTION:SPEAKER IMPEDANCE 6 -16 FRONT SPEAKERSCENTERSPEAKERSURROUND BACK SPEA
43FrançaisIntroduction des modes DSPLe son entendu dans une salle de concert, un club, etc. estconstitué de son direct et de son indirect—réflexions p
44FrançaisUtilisation des modes Surround/DSPLes modes Surround/DSP disponibles varient en fonction des réglages des enceintes et des signaux entrants.
45FrançaisMise en service des modes Surround/DSPLes modes Surround/DSP disponibles varient en fonction duréglage des enceintes et des signaux entrants
46FrançaisAVCOMPU LINK EXAVCOMPU LINK-IIIAVCOMPU LINKAVCOMPU LINKAVCOMPU LINK-IIISystème decommande àdistance AVCOMPU LINKLe système de commande à dis
47FrançaisLecteur de DVD monotoucheEn démarrant simplement la lecture sur le lecteur de DVD, vouspouvez profiter de la lecture de DVD sans avoir à tou
48FrançaisVous pouvez utiliser la télécommande fournie pourcommander non seulement cet ampli-tuner mais aussi lesautres produits JVC.• Référez-vous au
49FrançaisVous pouvez toujours réaliser l’opération suivante:DVR/DVD : Mettre sous ou hors tension l’enregistreurde DVD ou le lecteur de DVD.Après av
50FrançaisEn changeant les signaux émettables, vous pouvez utiliser latélécommande fournie pour commander des appareilsd’autres fabricants.• Référez-v
51Français❏ Pour changer les signaux de télécommande pourcommander un magnétoscope1Maintenez pressée VCR .2Appuyez sur VCR.3Entrez le code du fabrica
52FrançaisFabricant CodesG.I. 01Gemini 02Hamlin 03, 04, 05, 06Jerrold 07, 08, 09, 10, 11, 12, 13, 14, 15Macom 16, 17, 18Magnavox 19Oak 20, 21, 22Panas
9EnglishConnecting video componentsDo not connect the AC power plug to the wall outlet until all connections are completed.Video conversion functionTh
53FrançaisGuide dedépannageUtilisez ce tableau pour vous aider à résoudre les problèmesde fonctionnement quotidiens. Si un problème ne peut pas êtreré
54FrançaisPROBLÈMELa télécommande ne fonctionne pascomme souhaité.La télécommande ne fonctionne pas.Sifflement ou bourdonnement pendantla réception FM
55FrançaisLa conception et les spécifications sont sujettes àchangement sans notification.AmplificateurPuissance de sortiePendant un fonctionnement st
0905RYMMDWJEINEN, FR© 2005 Victor Company of Japan, Limitedcover_RX-D702B[C].p65 05.9.14, 1:40 PM2
Instructions AUDIO/VIDEO CONTROL RECEIVER RX-D702BBB_RX-D702B[C].p65 05.9.14, 1:49 PM1
10EnglishÅıÎÇMONITOR OUT‰YPBPRCOMPONENT VIDEOMONITOROUTDVR/DVDINVCR(DBS)INTVINDBINLRMONITOROUT/DVDPLAY)Select the appropriate VIDEO OUTPUT (see page 3
11English) INDVR/DVD INHDMIıΉÏÌÇÅÓDVROUT(REC)DVR/DVDIN(PLAY)YPBPRCOMPONENT VIDEOMONITOROUTDVR/DVDINVCR(DBS)INDVROUT(REC)DVR/DVDIN(PLAY)FRONT7 Connect
12EnglishÅÏÓıÇΉÌÔDVROUT(REC)DVR/DVDIN(PLAY)DVROUT(REC)DVR/DVDIN(PLAY)FRONTCOMPONENT VIDEOMONITOROUTDVR/DVDINVCR(DBS)INDVDMULTI INCENTERSUBWOOFERSURR-
13EnglishVCROUT(REC) IN(PLAY)AUDIOOUT(REC) IN(PLAY)VCRVCR(DBS) INHDMIÅıΉÏÌÇÓYPBPRCOMPONENT VIDEOMONITOROUTDVR/DVDINVCR(DBS)INÅDo not connect the AC p
14EnglishCOMPONENT VIDEOMONITOROUTDVR/DVDINVCR(DBS)INYPBPROUVIDEODBSINVIDEOS-VIDEODBSIN OUVCR(DBS) INHDÅıÎljDo not connect the AC power plug to the wa
15English7 Connecting a video component to the AUX input jacksThe AUX input jacks on the front panel (inside the front door) are convenient when conne
16EnglishDIGITAL OUTPCM/STREAMDIGITAL IN2(DBS)1(DVR/DVD)3(VCR)NOTES• When shipped from the factory, the DIGITAL IN terminals on therear of the receive
17EnglishUSBUSB connectionThis receiver is equipped with a USB terminal on the front paneland a USB WIRELESS ANTENNA terminal on the rear. You canenj
Warnings, Cautions, and OthersMises en garde, précautions et indications diversesCaution–– STANDBY/ON button!Disconnect the mains plug to shut the p
18EnglishNow PC is ready for playback through the USB connection.After installation is completed, you can use your PC as theplayback source. The PC a
19EnglishBasic operations2 Select the source to playOn the front panel:Turn SOURCE SELECTOR until the source nameyou want appears on the display.The s
20EnglishNOTES• “HDMI” is available only for the source with “HDMI” selected inthe video input setting (see the left column).• “DIGITAL” is available
21EnglishSelecting the digital decode modeThis receiver automatically detects the incoming digital signalformat when “HDMI” or “DIGITAL” is selected i
22EnglishBasic adjustment of auto memoryThis receiver memorizes sound settings for each source:• when you turn off the power, and• when you change the
23EnglishTo obtain the best possible sound effect from Surround/DSPmodes (see pages 41 to 45), you need to set up the speaker andsubwoofer information
24EnglishWhen your clapping sound is detected successfully• On the TV screen, “SUCCESSFUL,” “RESULT,” and the settingvalues appear. The setting values
25EnglishBasic setting itemsYou can adjust the following items. See pages in parentheses fordetails.•You cannot select the items which is not availabl
26English SURROUND BACK SPEAKER SURROUND SPEAKER CENTER SPEAKER FRONT SPEAKER FR SPK DISTANCE SURROUND BACK OUT FL SPK DISTANCE SETTING MENU (1)
27EnglishMenu operating procedureWhen operating, the on-screen display appears on the TV screen regardless of the SUPERIMPOSE setting (see page 32).Be
1EnglishIntroductionWe would like to thank you for purchasing one of our JVC products.Before operating this unit, read this manual carefully and thoro
28English DIGITAL IN 1 DIGITAL IN 1 :2DVR/DVD3DVR/DVD DBSVCRTV3Press SET.4To select the appropriate setting, press2 or 3 repeatedly, then press SET.
29EnglishIn this case, set the distance as follows:Left front speaker (FL): “FL SPK DIST.: 3.0m (10ft)”Right front speaker (FR): “FR SPK DIST.: 3.0m (
30EnglishSelecting the main or sub channel—DUAL MONOYou can select the playback sound (channel) you want whileplaying digital software recorded (or br
31EnglishSetting the digital input (DIGITAL IN)terminals—DIGITAL IN 1/2/3When you use the digital input terminals, register whatcomponents are connect
32EnglishSelecting the output video signals—VIDEO OUTPUTTo use the video conversion function (see page 9), you need toselect this setting according to
33EnglishSound adjustmentsYou can make sound adjustment to your preference aftercompleting basic setting.Basic adjustment itemsYou can adjust the foll
34English DIGITAL EQ 250Hz ADJUST MENU (1) 5 SUBWOOFER LEVEL : 0 FRONT L LEVEL : 0 FRONT R LEVEL : 0 CENTER LEVEL : 0 SURR L L
35EnglishMenu operating procedureWhen operating, the on-screen display appears on the TV screen regardless of the SUPERIMPOSE setting (see page 32).Be
36EnglishFrom the remote control:1Press TEST to check the speakers’ output balance.• On the TV screen, “TEST TONE” appears. The indicator correspondin
37English7 Attenuating the input signal—INPUT ATTWhen the input level of analog source is too high, the sound willbe distorted. If this happens, you n
2EnglishTable of ContentsParts identification ... 3Getting started ...
38English7 Adjusting the sound localization of the centerchannel—CENTER GAINThis setting is available only when Neo:6 Music is in use.• If “CENTER SPK
39EnglishTuner operationsTuning in to stations manuallyFrom the remote control ONLY:1Press FM or AM to select the band.The last received station of th
40English3Press the numeric buttons (1 – 10, +10) toselect a channel number while the channelnumber position is flashing.•For channel number 5, press
41EnglishCreating realisticsound fieldsReproducing theater ambienceIn a movie theater, many speakers are located on the walls toreproduce impressive m
42EnglishDTS Neo:6DTS Neo:6 is another conversion method to create 6-channel(plus subwoofer) from analog/digital 2-channel software by usingthe high p
43EnglishIntroducing the DSP modesThe sound heard in a concert hall, club, etc. consists of directsound and indirect sound—early reflections and refle
44EnglishUsing the Surround/DSP modesAvailable Surround/DSP modes vary depending on the speaker settings and the incoming signals. See the table below
45EnglishOn the front panel:Before you start, remember...There is a time limit in doing the following steps. If the setting iscanceled before you fini
46EnglishAVCOMPU LINK EXAVCOMPU LINK-IIIAVCOMPU LINKAVCOMPU LINKAVCOMPU LINK-IIIAV COMPU LINKremote controlsystemThe AV COMPU LINK remote control syst
47EnglishOne-touch DVD playSimply by starting playback on the DVD player, you can enjoy theDVD playback without setting other switches manually.The fo
3EnglishA/V CONTROL RECEIVERREMOTE CONTROL RM-SRXD701UTV/VIDEOAUDIOTVDBS/CATVDVR/DVDAMAUXVCRTVDBSDVR/DVDUSBVCRTV VOLCHANNELVOLUMEFM MODEMUTINGMEMORYTU
48EnglishYou can use the supplied remote control to operate not onlythis receiver but also other JVC products.• Refer also to the manuals supplied wit
49EnglishYou can always perform the following operation:DVR/DVD : Tu rn on or off the DVD recorder or DVDplayer.After pressing DVR/DVD, you can perfo
50EnglishBy changing the transmittable signals, you can use thesupplied remote control to operate other manufacturers’products.• Refer also to the man
51English❏ Changing the transmittable signals for operatinga VCR1Press and hold VCR .2Press VCR.3Enter the manufacturer’s code using buttons1 – 9, an
52EnglishManufacturer CodesG.I. 01Gemini 02Hamlin 03, 04, 05, 06Jerrold 07, 08, 09, 10, 11, 12, 13, 14, 15Macom 16, 17, 18Magnavox 19Oak 20, 21, 22Pan
53EnglishTroubleshootingUse this chart to help you solve daily operational problems. Ifthere are any problems you cannot solve, contact your JVC’sserv
54EnglishPROBLEMRemote control does not operate asyou intend.Remote control does not work.Continuous hiss or buzzing during FMreception.Occasional cra
55EnglishDesigns and specifications are subject to change withoutnotice.AmplifierOutput PowerAt stereo operation:Front channels: 150 W per channel, mi
1FrançaisIntroductionNous vous remercions d’avoir acheté un de nos produits JVC.Avant d’utiliser cet appareil, veuillez lire attentivement et entièrem
2FrançaisTable des matièresIdentification des parties ... 3Pour commencer ...
4EnglishFront panel1 STANDBY/ON button and standby lamp (19)2 CC CONVERTER button (22)3 SETTING button (25, 27)4 ADJUST button (33, 35)5 SURROUND but
3FrançaisA/V CONTROL RECEIVERREMOTE CONTROL RM-SRXD701UTV/VIDEOAUDIOTVDBS/CATVDVR/DVDAMAUXVCRTVDBSDVR/DVDUSBVCRTV VOLCHANNELVOLUMEFM MODEMUTINGMEMORYT
4FrançaisPanneau avant9 • SOURCE SELECTOR (19, 40)• MULTI JOG (25, 27, 28, 33, 35, 45)p Réglage MASTER VOLUME (20)q Prise PHONES (20)w Prise USB (17)e
5FrançaisPanneau arrière9 Prises VIDEO (10 – 14)Prises VIDEO (vidéo composite), Prises S-VIDEO• Entrée: DBS IN, VCR IN (PLAY), DVR/DVD IN (PLAY)• Sort
6FrançaisMise en place des piles dans latélécommandeAvant d’utiliser la télécommande, mettez en place les deux pilesfournies.1Faites pression sur le c
7FrançaisANTENNACOAXIALFM 75 AM EXTAM LOOPANTENNAInsérez les languettesdu cadre dans lesfentes de la base pourassembler l’antennecadre AM.Connexion d
8FrançaisFLFRSLSRSBLCSWSBR(*SB)SUBWOOFEROUTLEFTRIGHT LEFTRIGHT LEFTRIGHTCAUTION:SPEAKER IMPEDANCE 6 -16 FRONT SPEAKERSCENTERSPEAKERSURROUND BACK SPE
9FrançaisConnexion des appareils vidéoNe connectez pas la fiche d’alimentation secteur à la prise murale avant que toutes les connexions soient termin
10FrançaisÅıÎÇMONITOR OUT‰YPBPRCOMPONENT VIDEOMONITOROUTDVR/DVDINVCR(DBS)INTVINDBINLRMONITOROUT/DVDPLAY)Choisissez le réglage VIDEO OUTPUT (voir page
11Français) INDVR/DVD INHDMIıΉÏÌÇÅÓDVROUT(REC)DVR/DVDIN(PLAY)YPBPRCOMPONENT VIDEOMONITOROUTDVR/DVDINVCR(DBS)INDVROUT(REC)DVR/DVDIN(PLAY)FRONT7 Connex
12FrançaisÅÏÓıÇΉÌÔDVROUT(REC)DVR/DVDIN(PLAY)DVROUT(REC)DVR/DVDIN(PLAY)FRONTCOMPONENT VIDEOMONITOROUTDVR/DVDINVCR(DBS)INDVDMULTI INCENTERSUBWOOFERSURR
5English1 Power cord (16)2 HDMI terminals (10, 11, 13, 14)VCR(DBS) IN, DVR/DVD IN, MONITOR OUT3 AV COMPU LINK-III terminals (46)4 DIGITAL IN terminals
13FrançaisVCROUT(REC) IN(PLAY)AUDIOOUT(REC) IN(PLAY)VCRVCR(DBS) INHDMIÅıΉÏÌÇÓYPBPRCOMPONENT VIDEOMONITOROUTDVR/DVDINVCR(DBS)INÅNe connectez pas la fi
14FrançaisCOMPONENT VIDEOMONITOROUTDVR/DVDINVCR(DBS)INYPBPROUVIDEODBSINVIDEOS-VIDEODBSIN OUVCR(DBS) INHDÅıÎljNe connectez pas la fiche d’alimentation
15FrançaisDIGITALS-VIDEOVIDEO L – AUDIO – RAUXıÇÅÎ7 Connexion d’un appareil vidéo aux prises d’entrée AUXLes prises d’entrée AUX sur le panneau avant
16FrançaisDIGITAL OUTPCM/STREAMDIGITAL IN2(DBS)1(DVR/DVD)3(VCR)Connexion audio numériqueCet ampli-tuner est muni de trois prises DIGITAL IN—une prises
17FrançaisUSBConnexion USBCet ampli-tuner est muni d’une prise USB sur le panneau avant etd’une prise USB WIRELESS ANTENNA à l’arrière. Vous pouvezrep
18FrançaisMaintenant, votre ordinateur est prêt pour être reproduit parla connexion USB.Une fois que l’installation est terminée, vous pouvez utiliser
19FrançaisFonctionnementde base2 Sélection de la source de lectureSur le panneau avant:Tournez le sélecteur SOURCE SELECTORjusqu’à ce que le nom de la
20FrançaisSourceRéglageLLS RSS.WFR LFECRAUTO SURRDIGITALDIGITAL AUTOHDMI DIGITALA MULTI(Retour au début)ANALOGLLS RSS.WFR LFECRAUTO SURRDIGITALDIGITAL
21FrançaisCoupure temporaire du sonA partir de la télécommande SEULEMENT:Appuyez sur MUTING pour couper le son detoutes les enceintes et du casque d’é
22FrançaisAjustement de base et mémorisationautomatiqueCet appareil mémorise les réglages sonores pour chaquesource:• quand vous mettez l’appareil hor
6EnglishPutting batteries in the remote controlBefore using the remote control, put two supplied batteries first.1Press and slide the battery cover on
23FrançaisRéglages de baseA partir de la télécommande SEULEMENT:1Mettez dans la position où vous souhaitezécouter le son.• Assurez-vous que les câbles
24FrançaisQuand le son du claquement de mains est détecté avecsuccès• Sur l’écran du téléviseur, “SUCCESSFUL”, “RESULT” et lesvaleurs réglées apparais
25FrançaisÉléments PourCMPNT SELECT Choisissez la source pour les prises(CMPNT SELECT) COMPONENT VCR (DBS) IN. (32)VIDEO OUTPUT Choisissez le signal v
26Français SURROUND BACK SPEAKER SURROUND SPEAKER CENTER SPEAKER FRONT SPEAKER FR SPK DISTANCE SURROUND BACK OUT FL SPK DISTANCE SETTING MENU (1
27FrançaisProcédure d’utilisation des menusPendant le fonctionnement, l’affichage sur l’écran apparaît sur l’écran du téléviseur quel que soit le régl
28Français DIGITAL IN 1 DIGITAL IN 1 :2DVR/DVD3DVR/DVD DBSVCRTV3Appuyez sur SET.4Pour choisir le réglage approprié,appuyez répétitivement sur 2 ou 3
29FrançaisCFLFRSLSRSBLSBR2.1 m(7 ft)2.4 m(8 ft)2.7 m(9 ft)3.0 m(10 ft)3.3 m(11 ft)Dans ce cas, réglez la distance comme suit:Enceinte avant gauche (FL
30FrançaisSélection du canal principal ousecondaire—DUAL MONOVous pouvez choisir le son (canal) de lecture que vous souhaitezpendant la lecture d’un s
31Français12345678910010DVR/DVDDIGITAL IN 1 DBS VCR TVDIGITAL IN 2DVR/DVDDBS VCR TVDIGITAL IN 3DVR/DVDDBS VCR TVRéglage des prises d’entrée numériques
32FrançaisSélection des signaux vidéo de sortie—VIDEO OUTPUTPour utiliser la fonction de conversion vidéo (voir page 9), vousdevez choisir ce réglage
7EnglishANTENNACOAXIALFM 75 AM EXTAM LOOPANTENNASnap the tabs on theloop into the slots ofthe base to assemblethe AM loop antenna.Connecting the FM a
33FrançaisAjustementssonoresÉléments PourDIMENSION Ajustez le modèle de localisation duson.(DIMENSION) (38)CENTER GAIN Ajuster la localisation sonore
34Français DIGITAL EQ 250Hz ADJUST MENU (1) 5 SUBWOOFER LEVEL : 0 FRONT L LEVEL : 0 FRONT R LEVEL : 0 CENTER LEVEL : 0 SURR L
35FrançaisProcédure d’utilisation des menusPendant le fonctionnement, l’affichage sur l’écran apparaît sur l’écran du téléviseur quel que soit le régl
36FrançaisA partir de la télécommande:1Appuyez sur TEST pour vérifier la balance de sortiedes enceintes.• Sur l’écran du téléviseur “TEST TONE” appara
37Français123456789100102112345678910010Ajustement des courbes d’égalisation—DIGITAL EQ 63Hz/250Hz/1kHz/4kHz/16kHzVous pouvez ajuster les courbes d’ég
38Français7 Ajustement de la localisation sonore du canalcentral—CENTER GAINCe réglage est disponible uniquement quand Neo:6 Music est enservice.• Si
39FrançaisFonctionnementdu tunerAccord manuel des stationsA partir de la télécommande SEULEMENT:1Appuyez sur FM ou AM pour choisir labande.La dernière
40Français3Appuyez sur les touches numériques (1 – 10,+10) pour choisir un numéro de canal quandla position de numéro de canal clignote.• Pour le numé
41FrançaisCréation dechamps sonoresréalistesReproduction de l’ambiance d’uncinémaDans une salle de cinéma, beaucoup d’enceintes sont situées surles mu
42FrançaisDTS Neo:6DTS Neo:6 est une autre méthode de conversion permettant decréer 6 canaux (plus un canal pour le caisson de grave) à partirde suppo
Related products and manuals for AV receivers JVC RX-D702B
 (50 pages)
(96 pages)
(50 pages)
(96 pages)
 (88 pages)
(90 pages)
(114 pages)
(63 pages)
(64 pages)
(64 pages)
(88 pages)
(40 pages)
(44 pages)
(51 pages)
(40 pages)
(43 pages)
(45 pages)
(44 pages)
(38 pages)
(46 pages)
(88 pages)
(90 pages)
(114 pages)
(63 pages)
(64 pages)
(64 pages)
(88 pages)
(40 pages)
(44 pages)
(51 pages)
(40 pages)
(43 pages)
(45 pages)
(44 pages)
(38 pages)
(46 pages)
 (111 pages)
(49 pages)
(111 pages)
(49 pages)
© 2020, manymanuals.com. All rights reserved. | 0.198 s |
 Manymanuals.com
 Manymanuals.de
 Manymanuals.fr
 Manymanuals.it
 Manymanuals.pl
 Manymanuals.cz
 Manymanuals.es
 Manymanuals-pt.com
Comments to this Manuals