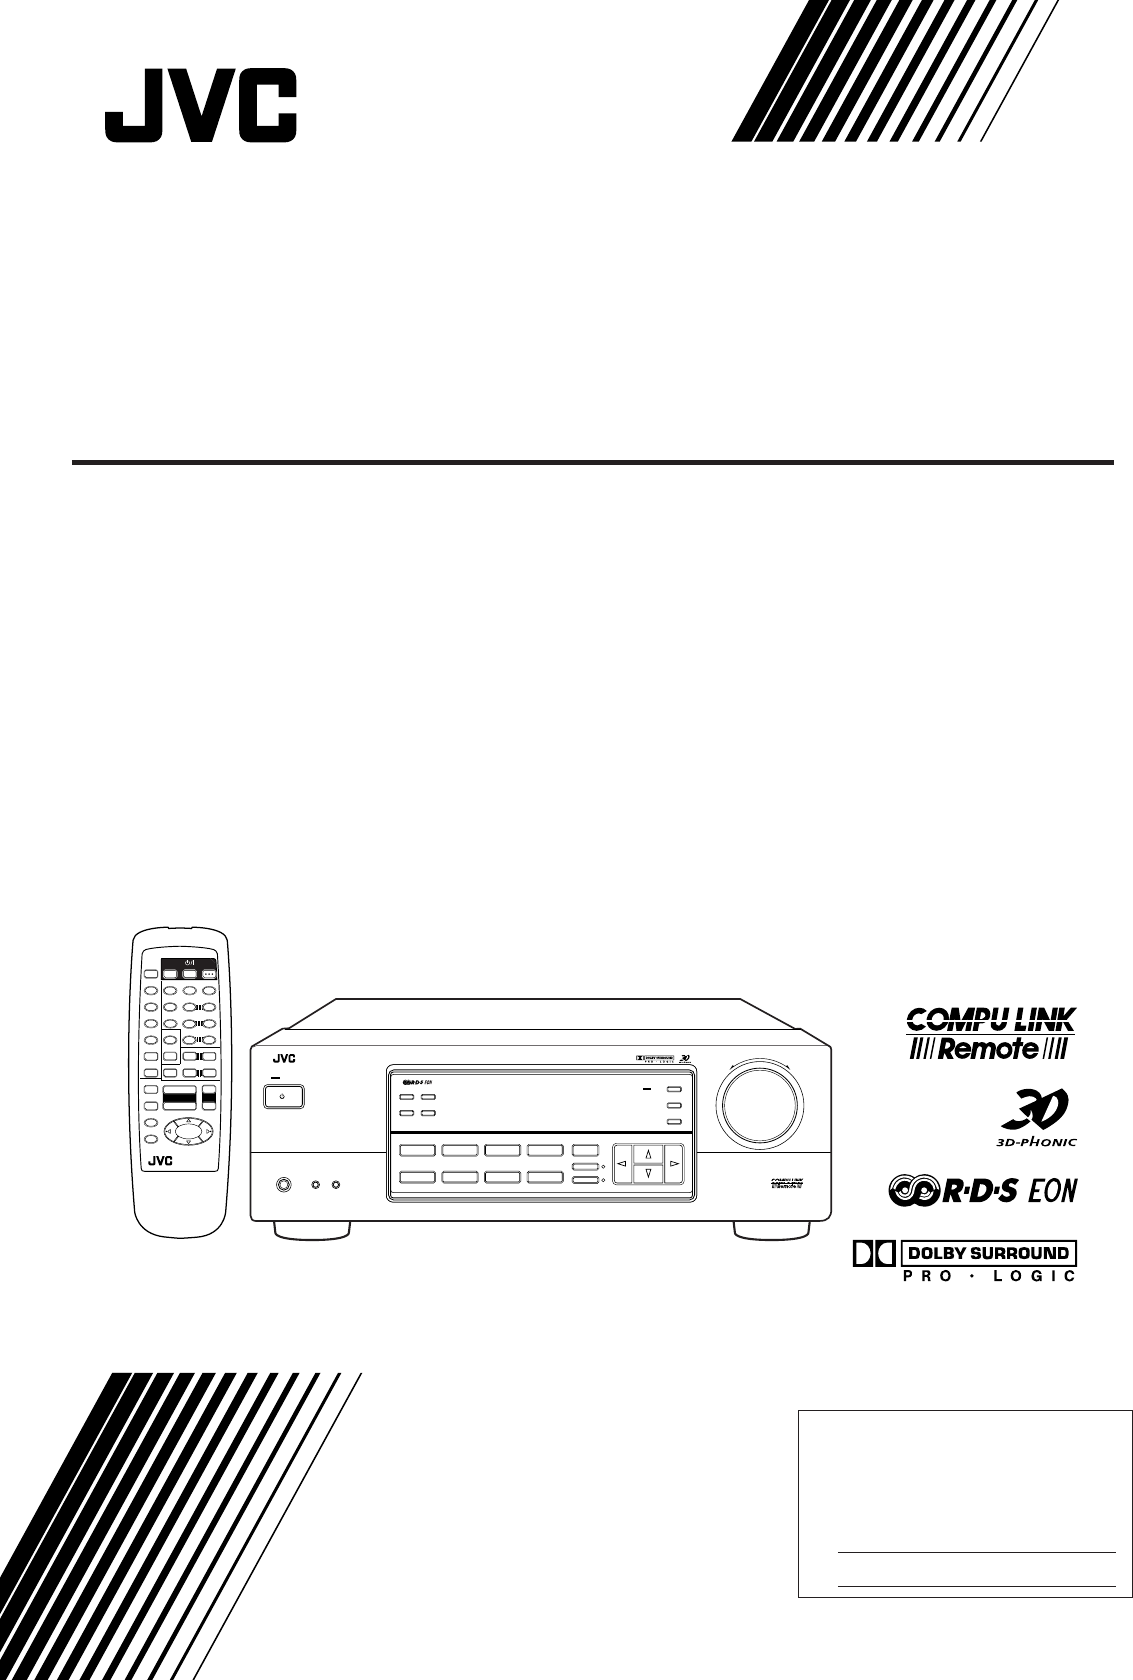
JVC RX-558RBK User Manual
Browse online or download User Manual for AV receivers JVC RX-558RBK. JVC RX-558RBK User's Manual
- Page / 32
- Table of contents
- TROUBLESHOOTING
- BOOKMARKS
- RX-558RBK 1
- Per I’ltalia: 2
- DeutschFrançais 3
- NederlandsItaliano 3
- Table of Contents 4
- Parts Identification 5
- Getting Started 6
- FRONT SPEAKERS 7
- Connecting Other Components 8
- TV (or VCR) 9
- Basic Operations 11
- Adjusting the Volume 12
- Selecting the Front Speakers 12
- Muting the Sound 12
- Recording a Source 12
- INPUT ATT 13
- Basic Settings 14
- (Canceled) 15
- Receiving Radio Broadcasts 16
- RTFrequency 17
- PTY SEARCH 18
- On the front panel ONLY: 19
- TA/NEWS/INFO 19
- DOLBY SURROUND 20
- SURROUND 22
- From the remote control: 23
- – REAR•L + 25
- – REAR•R + 25
- COMPU LINK – 3 26
- (SYNCHRO) 26
- Operating Other Components 27
- – CENTER + 28
- Troubleshooting 29
- Specifications 30
- FM tuner (IHF) 31
- AM (MW/LW) tuner 31
- EN, GE, FR, NL, SP, IT 32
- 0299HIMMDWJEM 32
Summary of Contents
For Customer Use:Enter below the Model No. and Serial No. which are located either on the rear, bottom or side of the cabinet. Retain this information
7EnglishPutting Batteries in the Remote ControlBefore using the remote control, put two supplied batteries first.When using the remote control, aim th
8EnglishTurning the Power On and Off (Standby)On the front panel:To turn on the power, press STANDBY/ON .The STANDBY lamp goes off. The name of thecur
9EnglishAdjusting the VolumeOn the front panel:To increase the volume, turn MASTERVOLUME clockwise.To decrease the volume, turn itcounterclockwise.• W
10EnglishReinforcing the BassWith this Bass Boost function, you can boost the bass level.Before you start, remember...• There is a time limit in doing
11EnglishChanging the Source NameWhen you have connected an MD recorder to the TAPE/MD jackson the rear panel: Change the source name shown on the dis
12EnglishOn the front panel:1. Press SETTING so that the cursorcontrol % / fi buttons work forsetting the delay time.2. Press cursor control % / firepea
13EnglishNote:You can use the 10 keys on the remote control to select thepreset number. When using the 10 keys, be sure that they areactivated for the
14EnglishWhat Information Can RDS Signals Provide?You can see the RDS signals the station sends on the display.To show the RDS signalsPress DISPLAY MO
15EnglishSearching for a Program by PTY CodesOne of the advantages of the RDS service is that you can locate aparticular kind of program from the pres
16EnglishIf there is a station broadcasting the programyou have selectedThe receiver changes the source (all sources except AM–MW/LW), and tunes in th
G-1Warnings, Cautions and Others/Warnung, Achtung und sonstige Hinweise/Mises en garde, précautions et indications diverses/Waarschuwingen,voorzorgen
17EnglishUsing the DSP ModesThe built-in Surround Processor provides three types of the DSP (Digital Signal Processor) mode — 3D-PHONIC mode,DAP (Digi
18EnglishAvailable DSP Modes According to the Speaker ArrangementAvailable DSP modes will vary depending on how many speakers are used with this recei
19EnglishAdjusting the 3D-PHONIC ModesBefore you start, remember...• Make sure that you have set the speaker information correctly(see page 11).• Ther
20EnglishFrom the remote control:1. Press SOUND CONTROL.The 10 keys are activated for sound adjustments.2. Press SURROUND repeatedlyuntil the DAP mode
21English8. ONLY FOR “THEATER”:Press cursor control @ / # toselect an effect level you want.• Each time you press the button, the effectlevel changes
22EnglishUsing the DVD MULTI Playback ModeThis receiver provides the DVD MULTI playback mode for reproducing the analog discrete output mode of the DV
23EnglishCOMPU LINK Remote Control SystemThe COMPU LINK remote control system allows you to operate JVC audio components through the remote sensor ont
24EnglishOperating Other ComponentsYou can operate JVC’s audio and video components with this receiver’s remote control, since control signals for JVC
25EnglishCassette deckAfter pressing TAPE/MD, you can perform the following operationson a cassette deck:3: Starts playing.11111: Fast winds the tape
26EnglishPROBLEMThe display does not light up.No sound from speakers.Sound from one speaker only.Continuous hiss or buzzing during FMreception.Occasio
G-2Caution: Proper VentilationTo avoide risk of electric shock and fire and to protect from damage.Locate the apparatus as follows:Front: No obstructi
27EnglishSpecificationsAmplifierOutput PowerAt Stereo operation: 55 watts per channel, min. RMS, bothchannels driven into 4 ohms at 1kHz, withno more
28EnglishFM tuner (IHF)Tuning Range: 87.50 MHz to 108.00MHzUsable Sensitivity: Monaural: 17.0 dBf (1.95 µV/75 ohms)50 dB Quieting Sensitivity:Monaural
VICTOR COMPANY OF JAPAN, LIMITEDEN, GE, FR, NL, SP, ITJVC0299HIMMDWJEMRX-558R[E]COVER/1 98.12.23, 10:36 AM2
1EnglishTable of ContentsParts Identification ... 2Getting Started ... 3Bef
2EnglishParts IdentificationBecome familiar with the buttons and controls on the receiver before use.Refer to the pages in parentheses for details.Fro
3EnglishANTENNAAMEXTAMLOOPFM 75 COAXIALAMLOOPANTENNAAMEXTFM 75 COAXIALAMLOOPANTENNAAMEXTFM 75 COAXIALGetting StartedThis section explains how to
4EnglishTurn the loop until you have the best reception.Notes:• Make sure the antenna conductors do not touch any otherterminals, connecting cords and
5EnglishAUDIOPHONOTAPE/MDCDOUT(REC)IN(PLAY)LRANTENNAAMEXTAMLOOPFM 75 COAXIALTurntableIf an earth cable isprovided for yourturntable, connect thecabl
6EnglishTo audio outputNote:You can connect either a cassette deck or an MD recorder to theTAPE/MD jacks. When connecting an MD recorder to the TAPE/M
Related products and manuals for AV receivers JVC RX-558RBK
 (57 pages)
(76 pages)
(56 pages)
(34 pages)
(54 pages)
(57 pages)
(76 pages)
(56 pages)
(34 pages)
(54 pages)

 (6 pages)
(40 pages)
(62 pages)
(6 pages)
(40 pages)
(62 pages)
 (114 pages)
(50 pages)
(96 pages)
(88 pages)
(90 pages)
(114 pages)
(63 pages)
(64 pages)
(64 pages)
(88 pages)
(40 pages)
(44 pages)
(114 pages)
(50 pages)
(96 pages)
(88 pages)
(90 pages)
(114 pages)
(63 pages)
(64 pages)
(64 pages)
(88 pages)
(40 pages)
(44 pages)
© 2020, manymanuals.com. All rights reserved. | 1.037 s |
 Manymanuals.com
 Manymanuals.de
 Manymanuals.fr
 Manymanuals.it
 Manymanuals.pl
 Manymanuals.cz
 Manymanuals.es
 Manymanuals-pt.com
Comments to this Manuals