Jvc CA-MXGT90 User Manual
Browse online or download User Manual for Acoustics Jvc CA-MXGT90. JVC CA-MXGT90 User Manual
- Page / 40
- Table of contents
- TROUBLESHOOTING
- BOOKMARKS
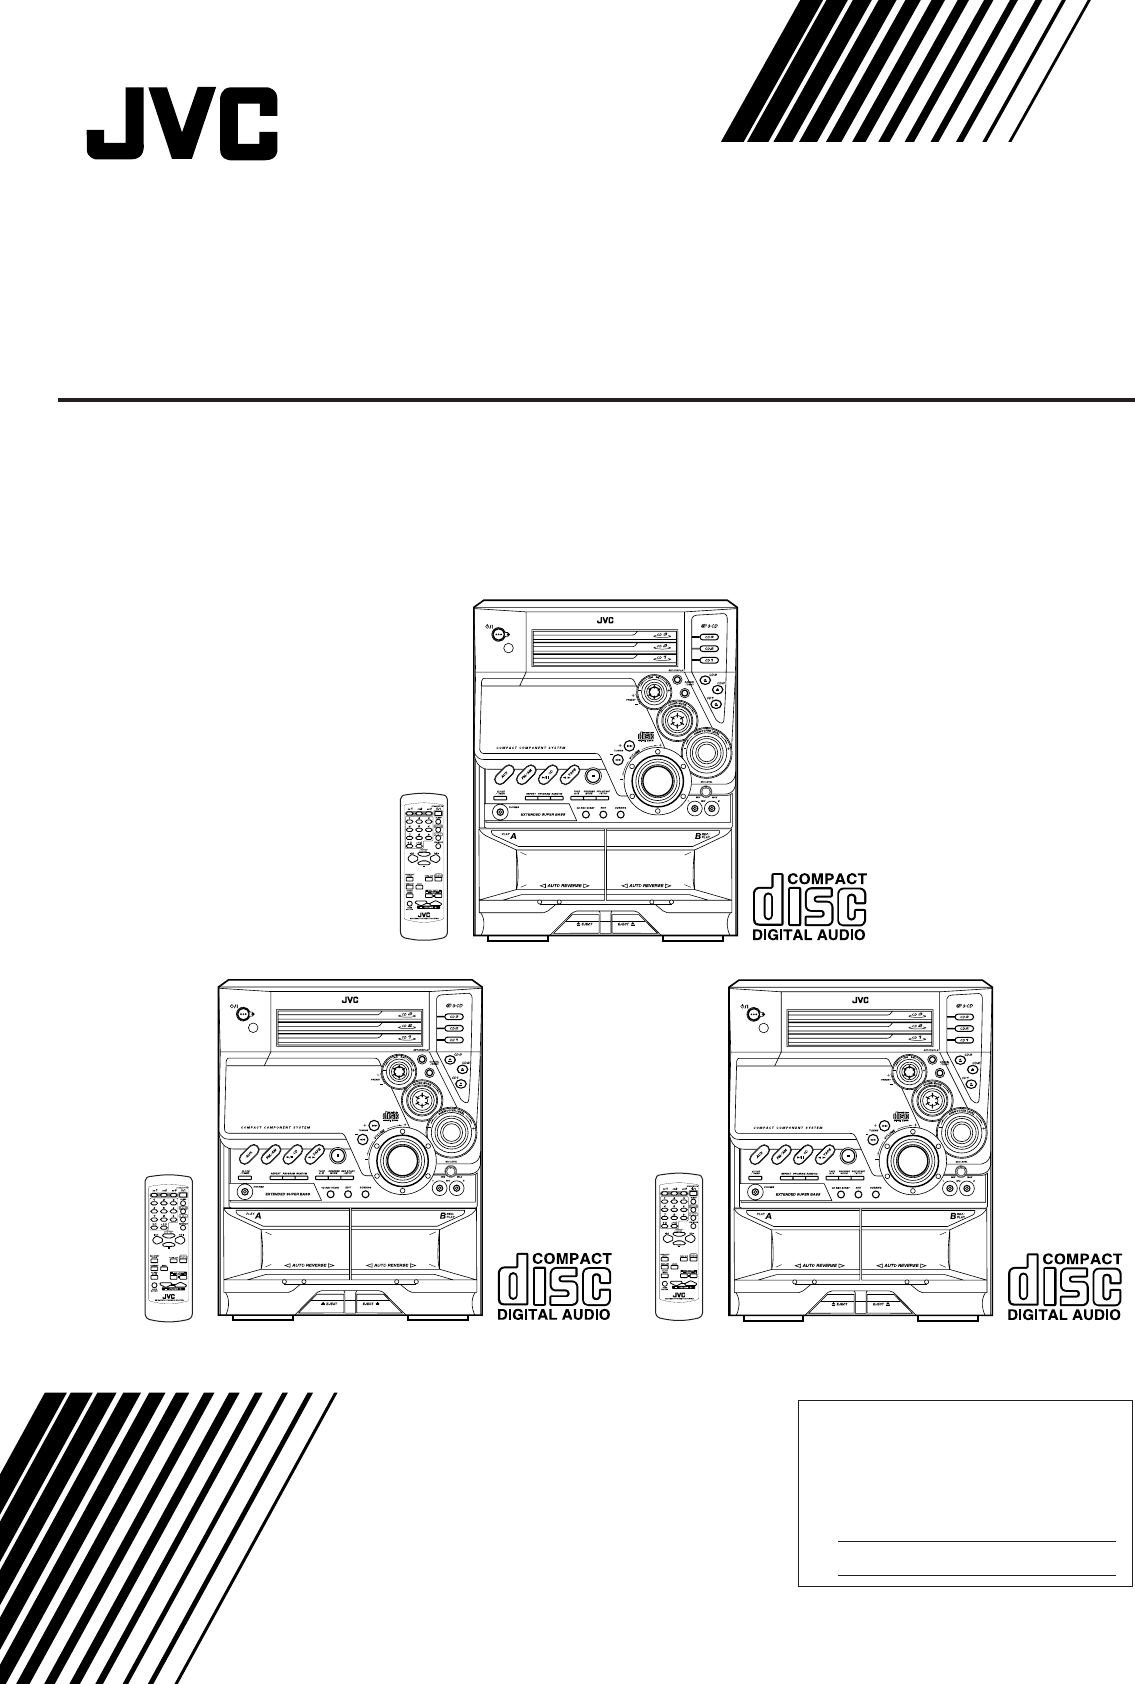
- CA-MXGT90/CA-MXGT80 1
- CA-MXG70 1
- Warnings, Cautions and Others 2
- Português Español 3
- IMPORTANT FOR LASER PRODUCTS 5
- IMPOTANTE PARA PRODUTOS LASER 5
- Introduction 6
- Contents 7
- Front Panel 8
- Display Window 9
- Remote Control 10
- Getting Started 11
- Connecting Speakers 12
- Connecting Other Equipment 13
- Common Operations 14
- Selecting the Sound Modes 15
- Adjusting the Volume 15
- Reinforcing the Bass Sound 15
- Creating Your Own Sound Mode 16
- — Manual Mode 16
- Tuning in a Station 17
- Presetting Stations 17
- Tuning in a Preset Station 17
- Loading CDs 18
- Playing Back the Entire Discs 19
- — Continuous Play 19
- Basic CD Operations 19
- — Program Play 20
- Playing Back Tapes 22
- Recording 23
- CD Direct Recording 24
- Dubbing Tapes 24
- Auto Edit Recording 25
- Using the Microphones 26
- Using the Timers 27
- VOL 10VOL 15 28
- VOL – – VOL 05 28
- Using Recording Timer 29
- Timer Priority 30
- Using Sleep Timer 30
- Maintenance 31
- Troubleshooting 32
- Specifications 33
- CA-MXGT80 34
- SELECTOR 36
Summary of Contents
For Customer Use:Enter below the Model No. and Serial No. which are located either on the rear, bottom or side of the cabinet. Retain this information
– 5 –EnglishWhen using the remote control, point it atthe remote sensor on the front panel.Remote ControlRemote Control1 Disc number buttons (CD1, CD2
– 6 –EnglishGetting StartedSupplied AccessoriesMake sure that you have all the following items.The number in the parentheses indicates the quantity of
– 7 –English1 Connect the AM loop antenna to the AMLOOP terminals as illustrated.• If the AM loop antenna wire is coveredwith vinyl, remove the vinyl
– 8 –EnglishConnecting Other EquipmentYou can connect both analog and digital equipment.• DO NOT connect any equipment while the poweris on.• DO NOT p
– 9 –EnglishCommon OperationsTurning On or Off the PowerTo turn on the unit, pressSTANDBY/ON so that theSTANDBY lamp goes off.To turn off the unit (
– 10 –EnglishAdjusting the VolumeYou can adjust the volume level only while the unit is turnedon. The volume level can be adjusted in 32 steps (VOL MI
– 11 –EnglishCreating Your Own Sound Mode— Manual ModeYou can change SEA pattern to suit your preference. Thesechanged settings can be stored in the M
– 12 –EnglishListening to FM and AM BroadcastsTuning in a Station1Press FM/AM.The unit automatically turns on andtunes in the previously tuned station
– 13 –EnglishPlaying Back CDs (CD/CD-R/CD-RW)This unit has been designed to playback the following CDs:• CD (Audio CD)• CD-R (CD-Recordable)• CD-RW (C
– 14 –EnglishPlaying Back the Entire Discs— Continuous Play1Load CDs.2Press one of the disc numberbuttons (CD1, CD2, andCD3) for the disc you want top
Caution — STANDBY/ON button!Disconnect the mains plug to shut the power offcompletely. The STANDBY/ON button in anyposition does not disconnect the
– 15 –EnglishProgramming the Playing Order of the Tracks— Program PlayYou can arrange the order in which tracks play before youstart playing. You can
– 16 –EnglishPlaying at Random — Random PlayThe tracks of all loaded CDs will play at random.• To use Repeat play for Random play, press REPEAT afters
– 17 –EnglishYou can play back type I, type II, and type IV tapes withoutchanging any settings.Playing Back a Tape1Press EJECT (0) for the deck you wa
– 18 –EnglishRecordingRecording a Tape on Deck B1Press EJECT 0 for the deck B.2Put a recordable cassette into deck B.3Close the cassette holder gently
– 19 –EnglishCD Direct RecordingEverything on the CD goes onto the tape in the order it is onthe CD, or according to the order you have made for Progr
– 20 –EnglishAuto Edit RecordingBy using Auto Edit Recording, you can record the CD tracksto fit the tape. Auto Edit Recording makes a program byselec
– 21 –EnglishUsing the MicrophonesYou can enjoy singing along (Karaoke) and microphonemixing by using two microphones.• MIC LEVEL adjustment is valid
– 22 –EnglishUsing the TimersThere are three timers available — Daily Timer, RecordingTimer and Sleep Timer.Before using the timers, you need to set t
– 23 –English5Turn 4 / ¢ to select the source to play,then press SET/DISPLAY.• The source changes as follows:TUNER FM: tunes into a specified preset F
– 24 –English4Set the on-time you want theunit to turn on at.1) Turn 4 / ¢ to set the hour,then press SET/DISPLAY.2) Turn 4 / ¢ to set the minute,then
EnglishPortuguês EspañolCAUTIONTo reduce the risk of electrical shocks, fire, etc.:1. Do not remove screws, covers or cabinet.2. Do not expose this ap
– 25 –EnglishTimer PrioritySince each timer can be set separately, you may wonder whathappens if the setting for these timers overlaps.Here are exampl
– 26 –EnglishMaintenanceTo get the best performance of the unit, keep your discs, tapes, and mechanism clean.Handling cassette tapes• If the tape is l
– 27 –EnglishIf you are having a problem with your unit, check this list for a possible solution before calling for service.If you cannot solve the pr
– 28 –EnglishSpecificationsCA-MXGT90Amplifier sectionOutput PowerSUBWOOFERS: 88 W per channel, min. RMS, both channelsdriven into 6 Ω at 63 Hz with no
– 29 –EnglishCA-MXGT80Amplifier sectionOutput PowerSUBWOOFERS: 76 W per channel, min. RMS, both channelsdriven into 6 Ω at 63 Hz with no more than0.9%
– 30 –EnglishCA-MXG70Amplifier sectionOutput PowerSUBWOOFERS: 68 W per channel, min. RMS, both channelsdriven into 6 Ω at 63 Hz with no more than0.9%
0301MWMMDWJEMEN, SP, PRVICTOR COMPANY OF JAPAN, LIMITEDCOAXIALANTENNAAM LOOPFM 75AM EXTCD OPTICALDIGITAL OUTPUTSUBWOOFERSMAINSPEAKERSCAUTION: SPEAKERI
Caution: Proper VentilationTo avoid risk of electric shock and fire, and to prevent damage, locate the apparatus as follows:1 Front: No obstructions a
IMPORTANT FOR LASER PRODUCTSIMPORTANTE PARA PRODUCTOS LÁSERIMPOTANTE PARA PRODUTOS LASERREPRODUCTION OF LABELS / REPRODUCCIÓN DE ETIQUETAS / REPRODUÇÃ
– 1 –EnglishIntroductionAbout This ManualThis manual is organized as follows:• The manual mainly explains operations using thebuttons and controls on
– 2 –EnglishContentsLocation of the Buttons and Controls... 3Front Panel ...
– 3 –EnglishLocation of the Buttons and ControlsBecome familiar with the buttons and controls on your unit.Front PanelFront PanelPLAY & EXCHANGEST
– 4 –EnglishSee pages in the parentheses for details.Front Panel1 Disc trays2 STANDBY/ON button and STANDBY lamp(9, 23, 24)3 Remote sensor4 PRESET +
More documents for Acoustics JVC CA-MXGT90

Related products and manuals for Acoustics Jvc CA-MXGT90
 (28 pages)
(64 pages)
(32 pages)
(36 pages)
(58 pages)
(64 pages)
(57 pages)
(28 pages)
(64 pages)
(32 pages)
(36 pages)
(58 pages)
(64 pages)
(57 pages)
 (36 pages)
(52 pages)
(38 pages)
(24 pages)
(76 pages)
(40 pages)
(36 pages)
(52 pages)
(38 pages)
(24 pages)
(76 pages)
(40 pages)


 (201 pages)
(30 pages)
(2 pages)
(2 pages)
(40 pages)
(80 pages)
(201 pages)
(30 pages)
(2 pages)
(2 pages)
(40 pages)
(80 pages)
© 2020, manymanuals.com. All rights reserved. | 0.750 s |
 Manymanuals.com
 Manymanuals.de
 Manymanuals.fr
 Manymanuals.it
 Manymanuals.pl
 Manymanuals.cz
 Manymanuals.es
 Manymanuals-pt.com
Comments to this Manuals